Specialty Espresso with the Portafilter: Step-by-Step Instructions and Flavor Profiles
What makes Specialty Espresso special?
Specialty Espresso focuses on the origin, variety, and careful processing of the beans. Transparency in the supply chain, precise roasting profiles, and clean espresso extraction ensure clarity in the cup instead of mere bitterness. For enthusiasts and beginners, the key is: quality in the green coffee plus controllable parameters on the portafilter deliver reproducible results – and make preparing espresso a pleasurable routine.
Varieties and roast levels for espresso
Arabica varieties such as Bourbon, Typica, Caturra, and Geisha exhibit different acidity and sweetness profiles. Modern, light to medium roasts are suitable for specialty espresso because they retain more of the character of the origin. Darker roasts are fuller and more bitter, but they allow complex flavors to fade more quickly. Choose according to your needs: light to medium on its own, or medium for milk.
Processing: washed, natural, honey at a glance
The preparation clearly influences the taste of your specialty espresso :
- Washed: Wet processed, emphasizes clarity, acidity, floral and citrus notes
- Natural: Sun-dried in the cherry, brings ripe fruit, lots of sweetness and fullness
- Honey: Intermediate form, balances sweetness and texture, still good clarity
The trio " washed natural honey" is a good anchor to calibrate expectations of the shot and to make the dial in espresso more targeted.
Sensory: acidity, sweetness, body, clarity
A successful specialty espresso combines lively, ripe acidity with natural sweetness, a pleasant body, and a clean, clear finish. The goal is balance: no sharp green acidity, no dull aftertaste. Perception helps with fine-tuning the espresso grind , dose, and ratio.

Equipment and preparation
Grinder, portafilter, sieves, tamper, scale, water
A precise grinder with steep, sharp burrs is more important than the machine itself. Make sure you have the right sieves (single/double), a flat tamper, a reliable precision scale with a resolution of 0.1 g, and consistent water. Your portafilter setup should be reproducible and clean.
- Mill: Continuously adjustable, low dead space
- Sieves: Calibrated filling quantity (e.g. 18 g Double Basket)
- Tamper/Leveler: Level coffee bed, constant pressure
- Scale: Weighing in and out of the cup
- Water: Adapted mineralization for stability
Water quality and brewing temperature
Water quality is crucial for espresso . Target values: total hardness approximately 50–100 ppm CaCO₃, alkalinity 30–60 ppm. This ensures a sweet, clear extraction while protecting your machine. Brewing temperature: typically 92–94 °C. Higher for very light roasts , lower for darker ones.
Bean freshness, storage and seasonality
Use fresh, rested beans for your specialty espresso : many espressos are most stable from around day 7 of the roast date to weeks 6–8. Store in a cool, dry, airtight container. Divide large quantities and minimize oxygen exposure. Seasonality affects availability and the flavor spectrum—fresh harvests often taste more brilliant, but sometimes need some time to mature in the bag.

Recipe basics and brew ratio
Dose, yield, time – typical starting values (e.g. 18 g in, 36 g out, 25–30 s)
A tried-and-tested espresso recipe for beginners: 18 g into an 18 g double sieve, approximately 36 g in the cup (1:2 espresso brew ratio ) in 25–30 seconds. Depending on the roast and preparation, work your way up to 1:1.8 to 1:2.2 to find the right balance.
Preinfusion and pressure profiling
Pre-infusion saturates the coffee bed and reduces channeling. 2–8 seconds at low pressure stabilizes the start of the brew. Pressure profiling (e.g., smooth ramp-up, consistent plateau, soft bleed) can increase clarity and sweetness, but requires reproducible work and consistent grind size.
Single vs. Double Basket
Single baskets (<~9 g) are more sensitive and less forgiving. Double baskets (16–20 g) provide more stable flow rates and are ideal for training. Match the sieve size to the bean: Very light roasts often benefit from a slightly higher dose in the appropriate sieve.
Step-by-step instructions: How to make espresso
Step 1: Heat up the machine and flush
Heat the machine and portafilter completely (15–30 minutes). Do a quick flush to refresh any standing water and stabilize the temperature. Dry the portafilter before filling.
Step 2: Weighing and grinding
Weigh the exact amount into the clean, dry sieve. Grind fresh, finely, and with minimal lumps. The goal is a consistent grind without excessive amounts of fines. Sprinkle the ground coffee evenly into the sieve.
Step 3: Distribution (WDT) and Leveling
Use the Weiss Distribution Technique (WDT) with thin needles to break up clumps. Level the bed to avoid voids. A uniform surface is the best basis for preventing channeling .
Step 4: Tamping correctly
Tamp straight, using moderate, consistent force. Flatness is more important than more pressure. Clean the edge of the sieve so the sealing ring can fit snugly.
Step 5: Start drawing and meet the ratio
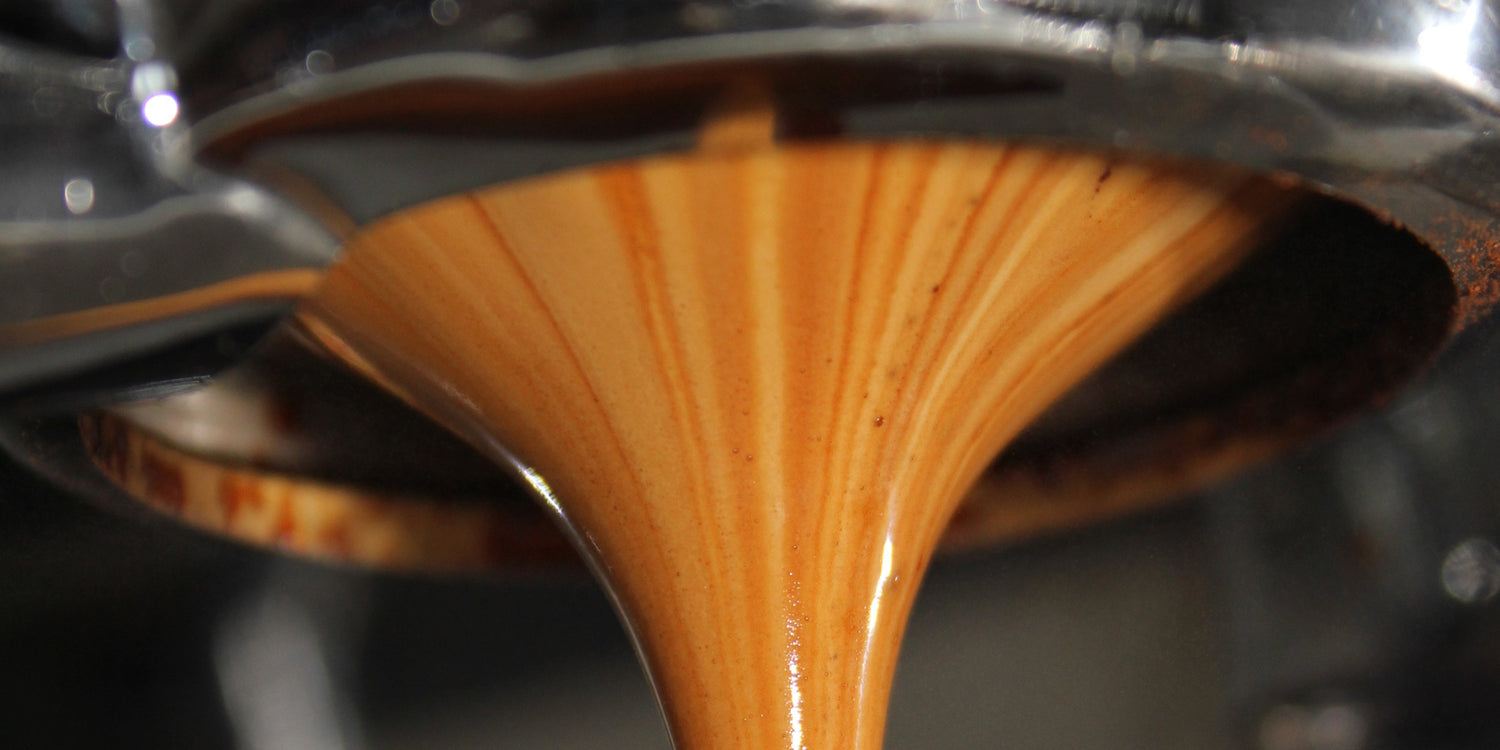
Start the extraction, optionally with pre-infusion . Stop near your target ratio (e.g., 36 g). Observe the flow: smooth, honey-like, no bright streaks. Stop when it starts to bleach, if your taste or recipe requires it.
Step 6: Rate, stir, serve
Stir the shot briefly to homogenize the layers. Taste without sugar and milk, noting your impressions: acidity, sweetness, bitterness, texture, and aftertaste. Adjust the espresso grind , dose, or ratio for the next shot.

Dial-in: Fine-tune the grinding level to your taste
Dial-in espresso is all about targeted iteration: change one parameter per shot, evaluate sensorially, and repeat. Use short notes: recipe, flow, taste.
Detect and correct underextraction
- Taste: sour-green, thin, salty, short aftertaste
- Appearance: fast flow, early blonding, light crema tone
- Fixes: finer grinding, longer extraction time, slightly higher temperature, slightly higher dose or lower ratio (e.g. 1:1.8)
Detect and correct overextraction
- Taste: bitter, dry, astringent, hollow aftertaste
- Optics: very slow flow, dark, late drops
- Fixes: grind coarser, brew for shorter time, slightly lower temperature, increase ratio (e.g. 1:2.2)
Influence of processing on dial-in
- Washed: often slightly finer grind and/or higher temperature for sweetness and clarity
- Natural: be careful with a grind that is too fine; slightly coarser often extracts more cleanly, ratio may be slightly higher
- Honey: balanced; often close to standard recipe stable, fine-tuning via temperature
Taste profiles after processing
Washed: Clarity and lively acidity
Expect citrus, stone fruit, floral notes, and a clear structure. Ideal for a purist shot or Americano. A short pre-infusion and precise temperature control reward with brilliant clarity.
Natural: Sweetness, fruit and fullness
Ripe berries, dried fruit, chocolate, creamy body. Perfect for cappuccino and flat white. Make sure to prepare the espresso cleanly to avoid fermented tones and use even distribution to prevent channeling.
Honey: Balance and Texture
Honey, caramel, yellow fruits, round texture. Versatile: enjoy on its own or with milk. Fine pressure profiling can further smooth the texture and emphasize the sweetness.

Common mistakes and quick solutions
Avoid channeling
- Consistent WDT and leveling
- Straight, even tamp
- Correct filling level: no contact with the shower
- Clean shower, seal and portafilter lip
- Optional: Bottomless basket for flow diagnosis
Splashing spout and blonding
Splashes indicate channeling or a grind that's too coarse. Check the distribution, grind finer, and increase the tamp consistency. Blonding indicates that predominantly bitter/hollow components are being extracted – end the extraction a little earlier or adjust the grind.
Bitter vs. sour – causes and fixes
- Sour: ground too coarsely, too cold, extracted too briefly. Solution: finer, hotter, longer
- Bitter: too finely ground, too hot, extracted for too long. Solution: coarser, cooler, shorter
- Flat: Check dose/ratio; often a slight ratio adjustment helps
Seasonal tips and bean selection
Harvest cycles, fresh crop and ripening time
The northern and southern hemispheres deliver at different times. Freshly harvested lots ("fresh crop") taste more vibrant, but require some rest after roasting. Keep an eye on roasting dates and dealer information about the harvest – this way, you can plan your favorite profiles throughout the year.
Roast selection for pure or milk drinks
Neat: light to medium for clear fruit and floral tones. Milk: medium for more body and chocolate notes. Try naturals or honey for cappuccino; for neat espresso, many washed lots are great if the espresso extraction is perfect.
High-quality decaf options
Decaffeinated specialty coffees (e.g., CO₂ or EA decaf) are now aromatic and clean. Dial-in like their caffeine counterparts, occasionally brewed a little more finely and at a slightly higher temperature to emphasize sweetness and body.
Further resources and recipes
- Compare recipes: 1:1.8 for syrupy ristretti; 1:2.2 for clearer, brighter shots
- Experiment with Pressure Profiling : soft start, even plateau, soft finish
- Document each espresso recipe with dose, grind, ratio, temperature and tasting notes
With a structured approach, clean water, and consistent technique, you'll consistently produce better shots—whether for pure enjoyment or as a base for milk drinks. #staywild