15 products
-
Vienna Calling

 Vendor:Vienna CallingWildkaffee - Dunkle Röstung
- Regular price
-
€14,94 EUR €38,54 EUR - Regular price
-
- Sale price
-
€14,94 EUR €38,54 EUR - Unit price
-
€42,69 EUR per kg
-
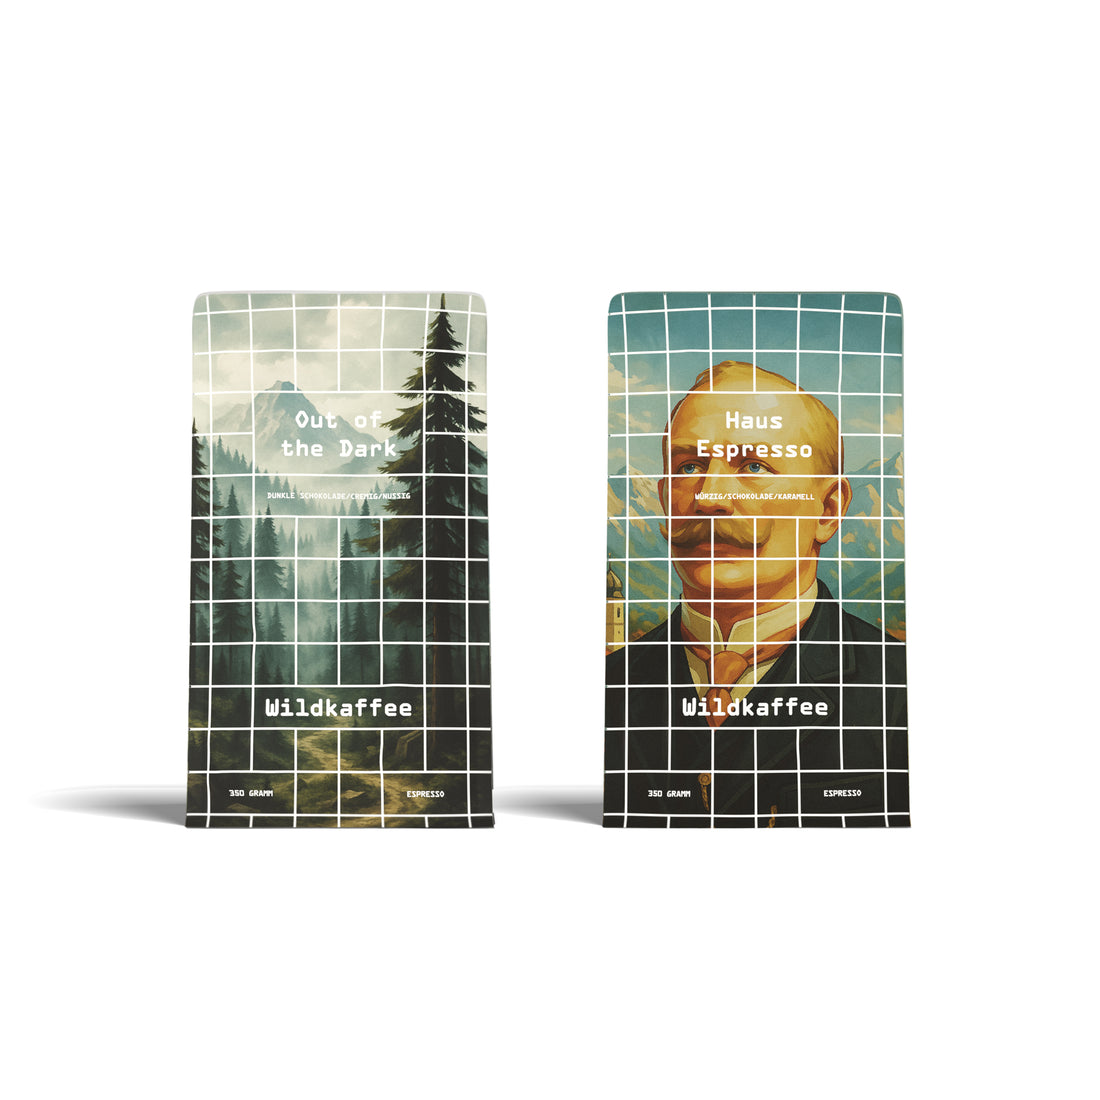
Out of the Dark
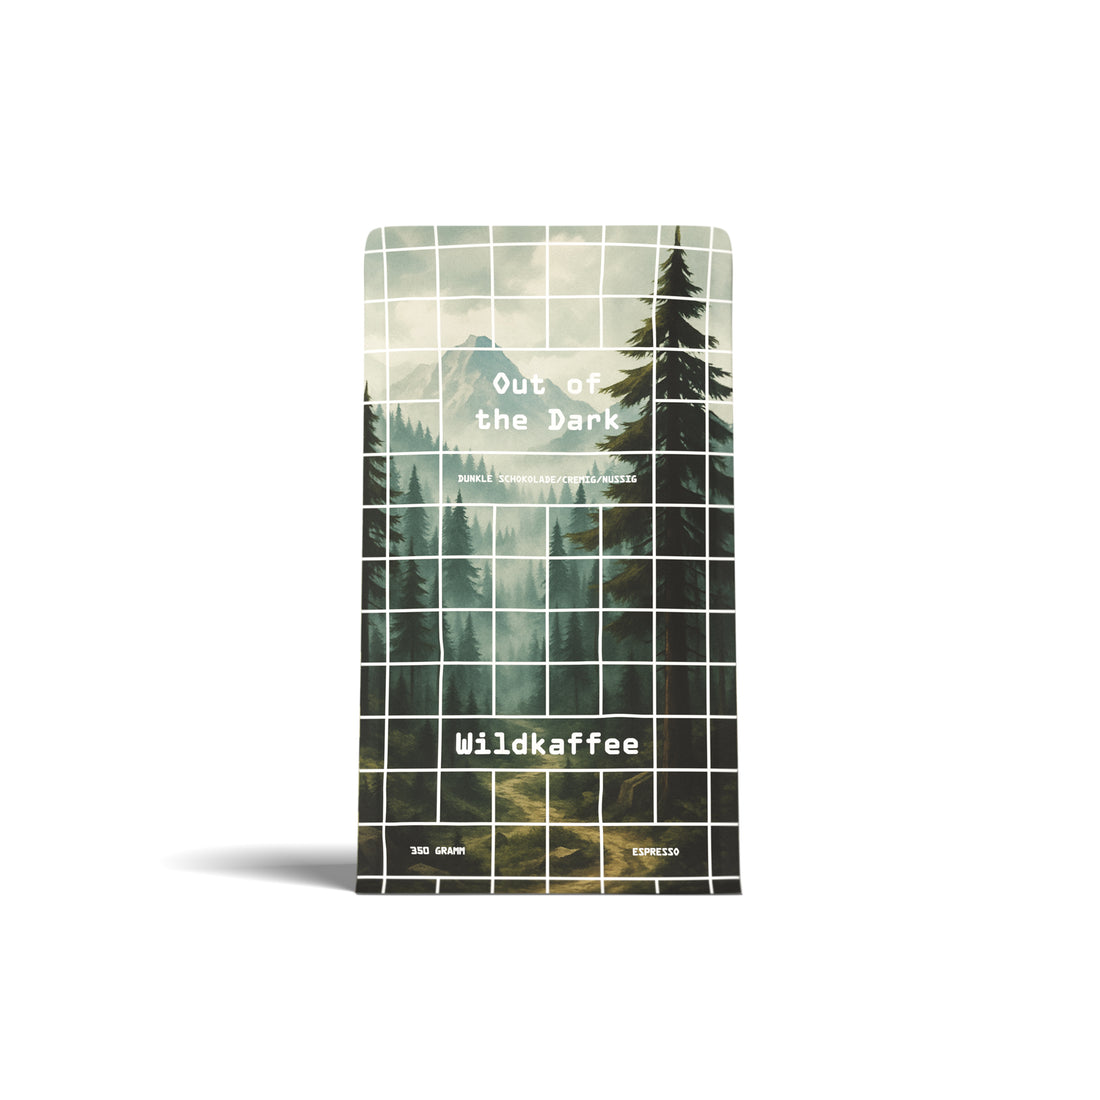
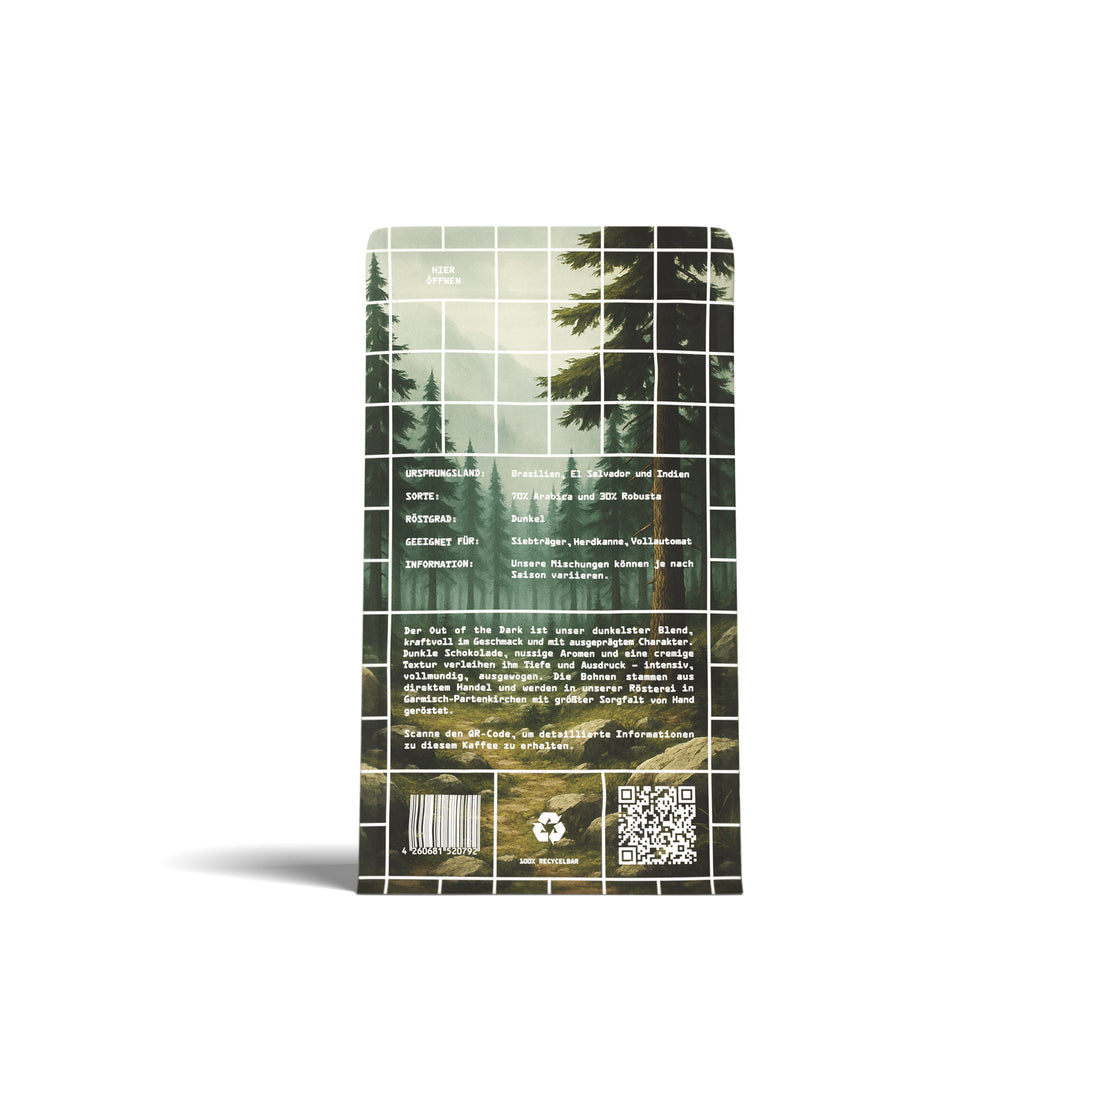 Vendor:Out of the DarkWildkaffee - Dunkle Röstung
- Regular price
-
€11,89 EUR €33,05 EUR - Regular price
-
- Sale price
-
€11,89 EUR €33,05 EUR - Unit price
-
€33,97 EUR per kg
-
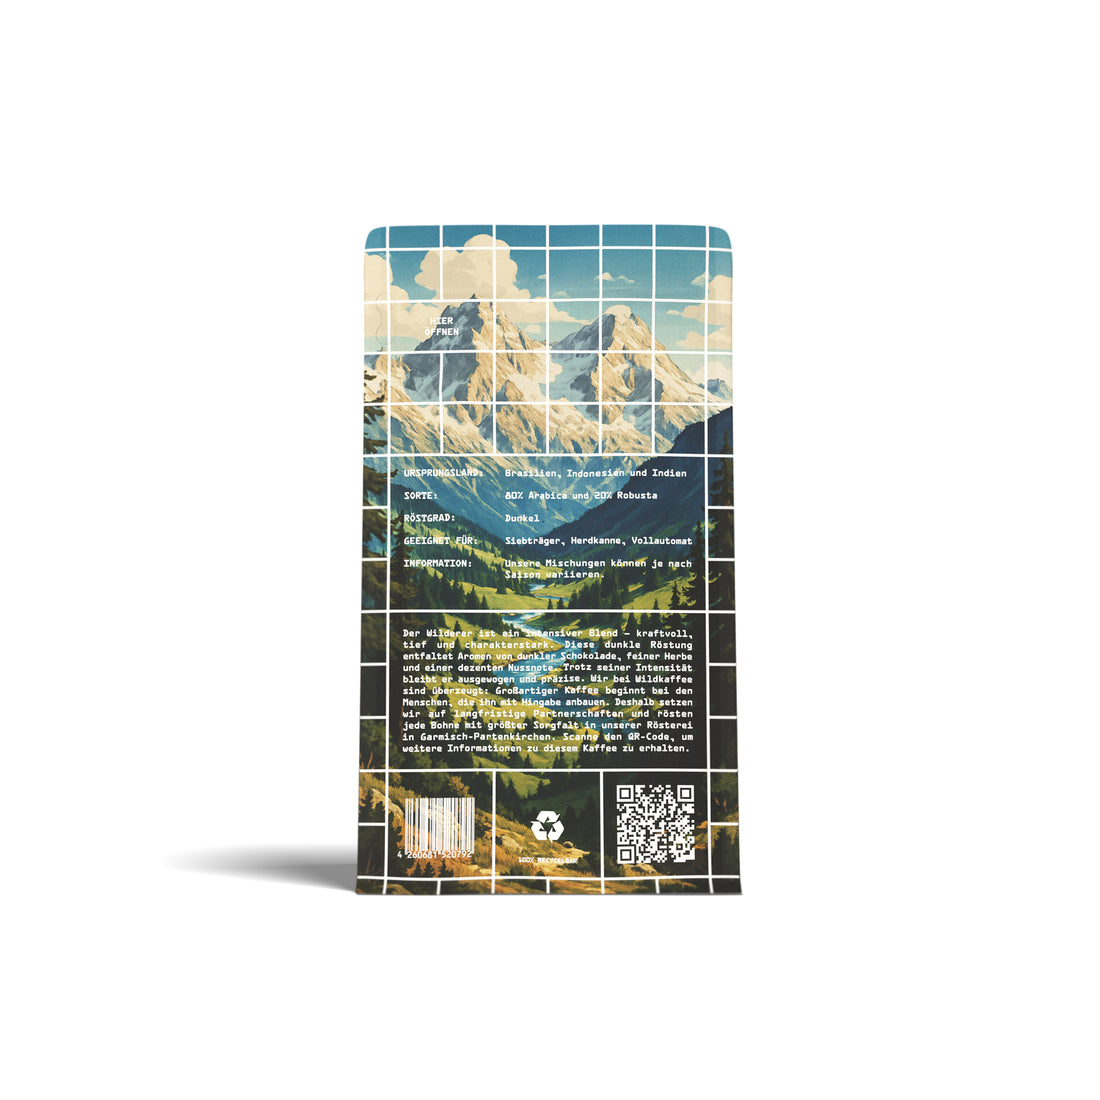
Wilderer Espresso
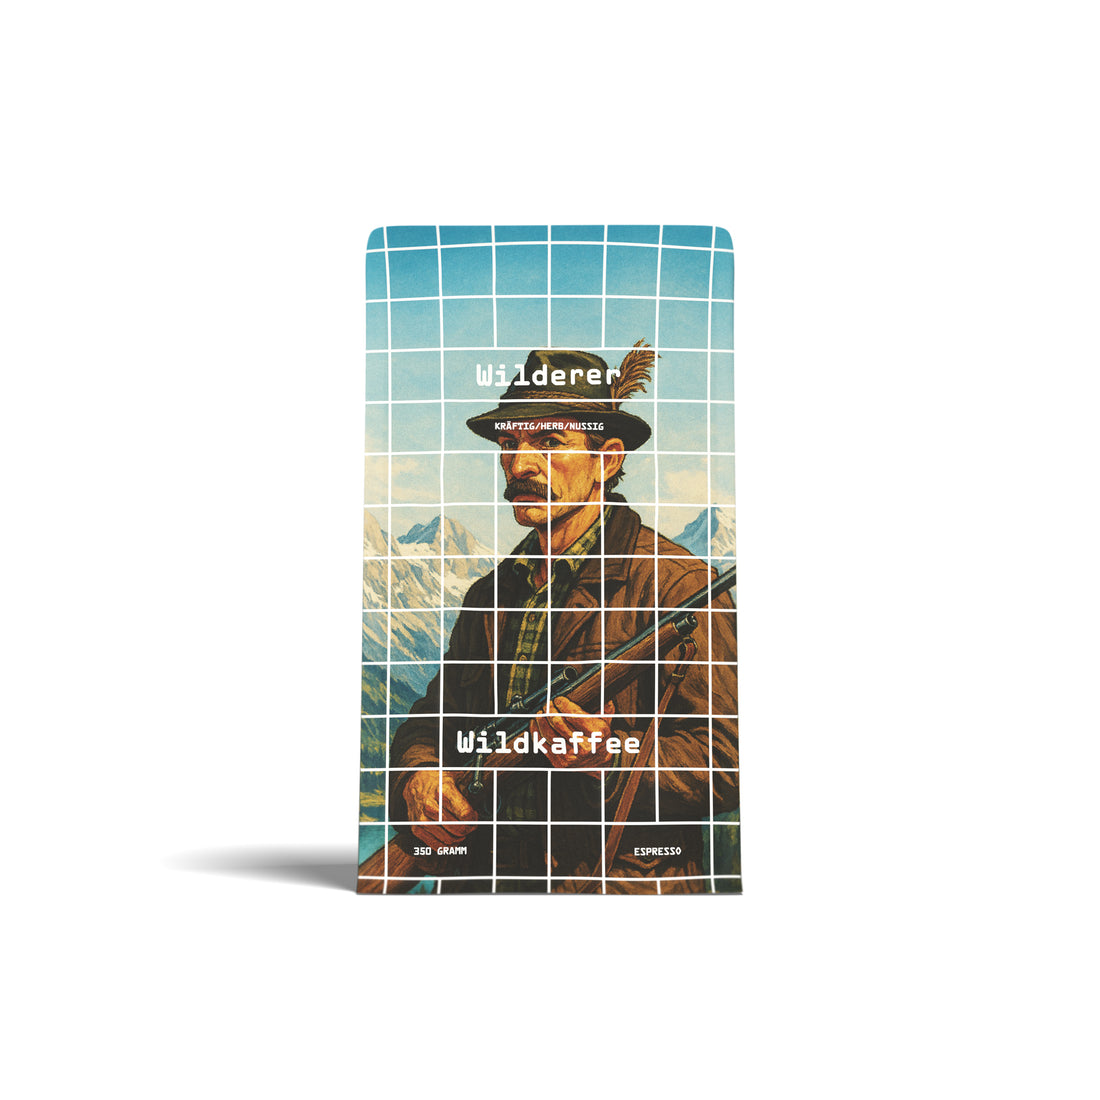
 Vendor:Wilderer EspressoWildkaffee - Dunkle Röstung
- Regular price
-
€12,10 EUR €33,46 EUR - Regular price
-
- Sale price
-
€12,10 EUR €33,46 EUR - Unit price
-
€34,57 EUR per kg
-
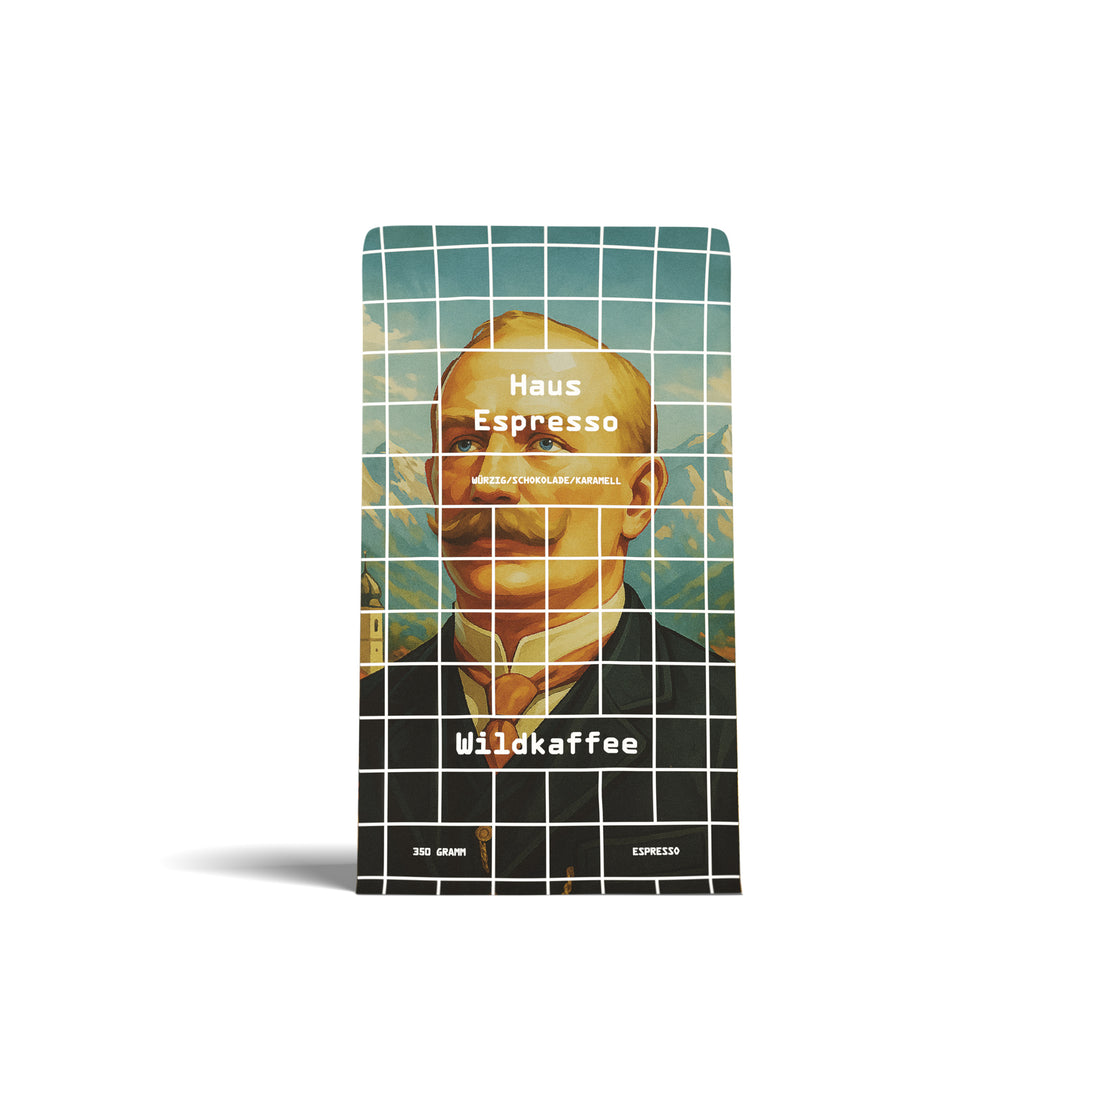
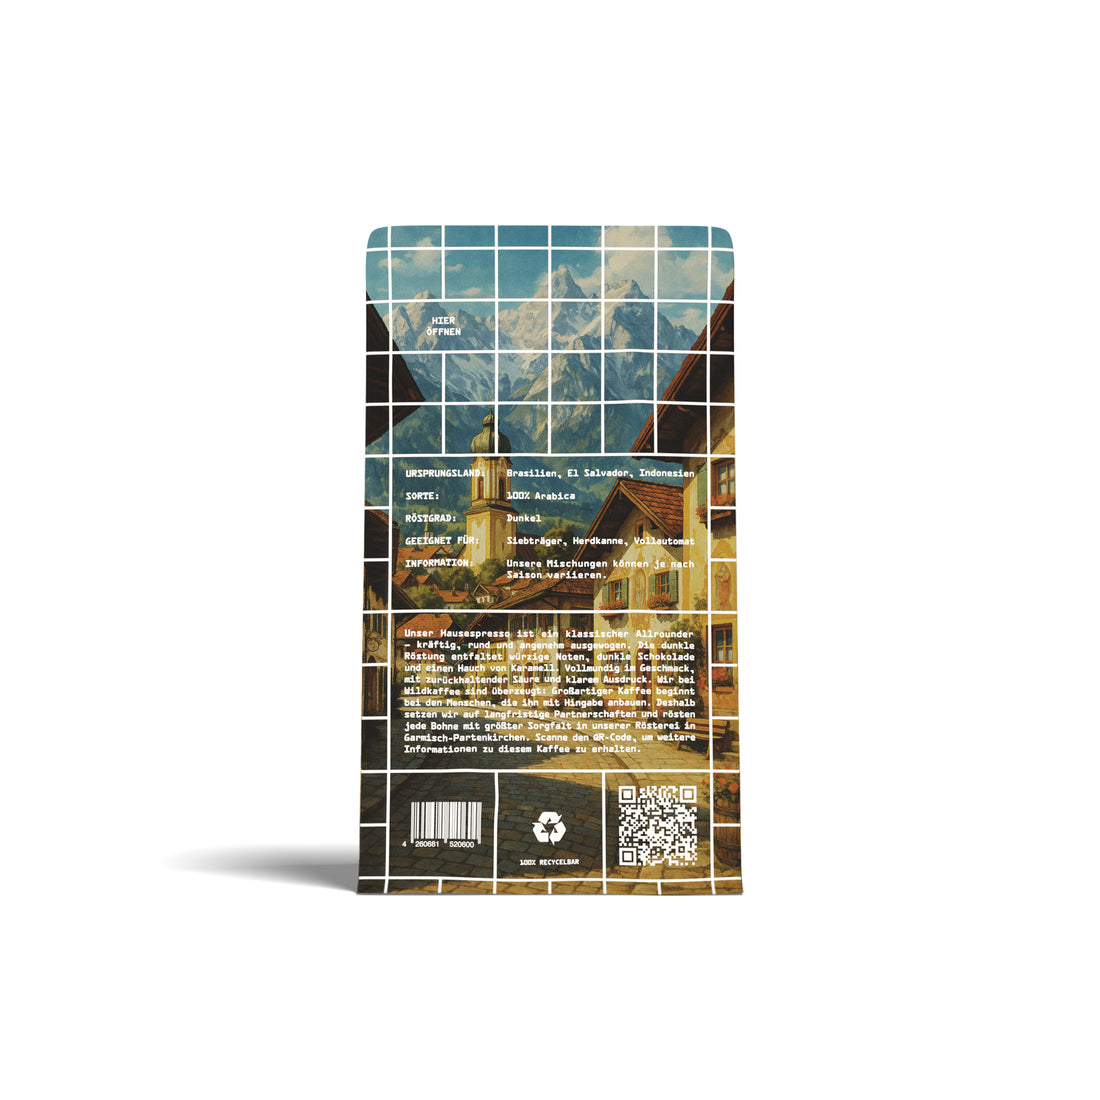
Hausespresso
 Vendor:HausespressoWildkaffee - Dunkle Röstung
- Regular price
-
€12,10 EUR €33,46 EUR - Regular price
-
- Sale price
-
€12,10 EUR €33,46 EUR - Unit price
-
€34,57 EUR per kg
-
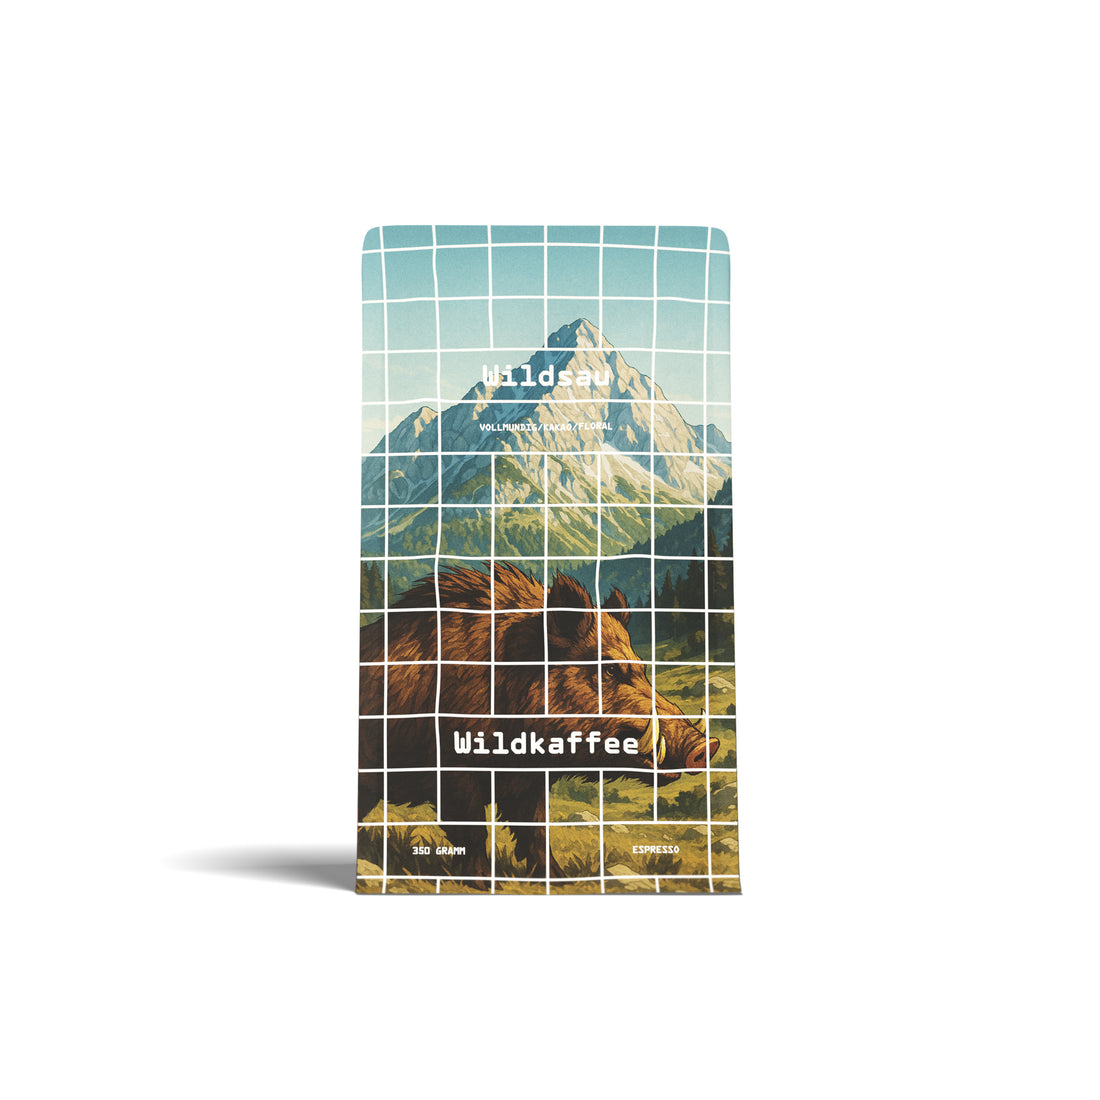
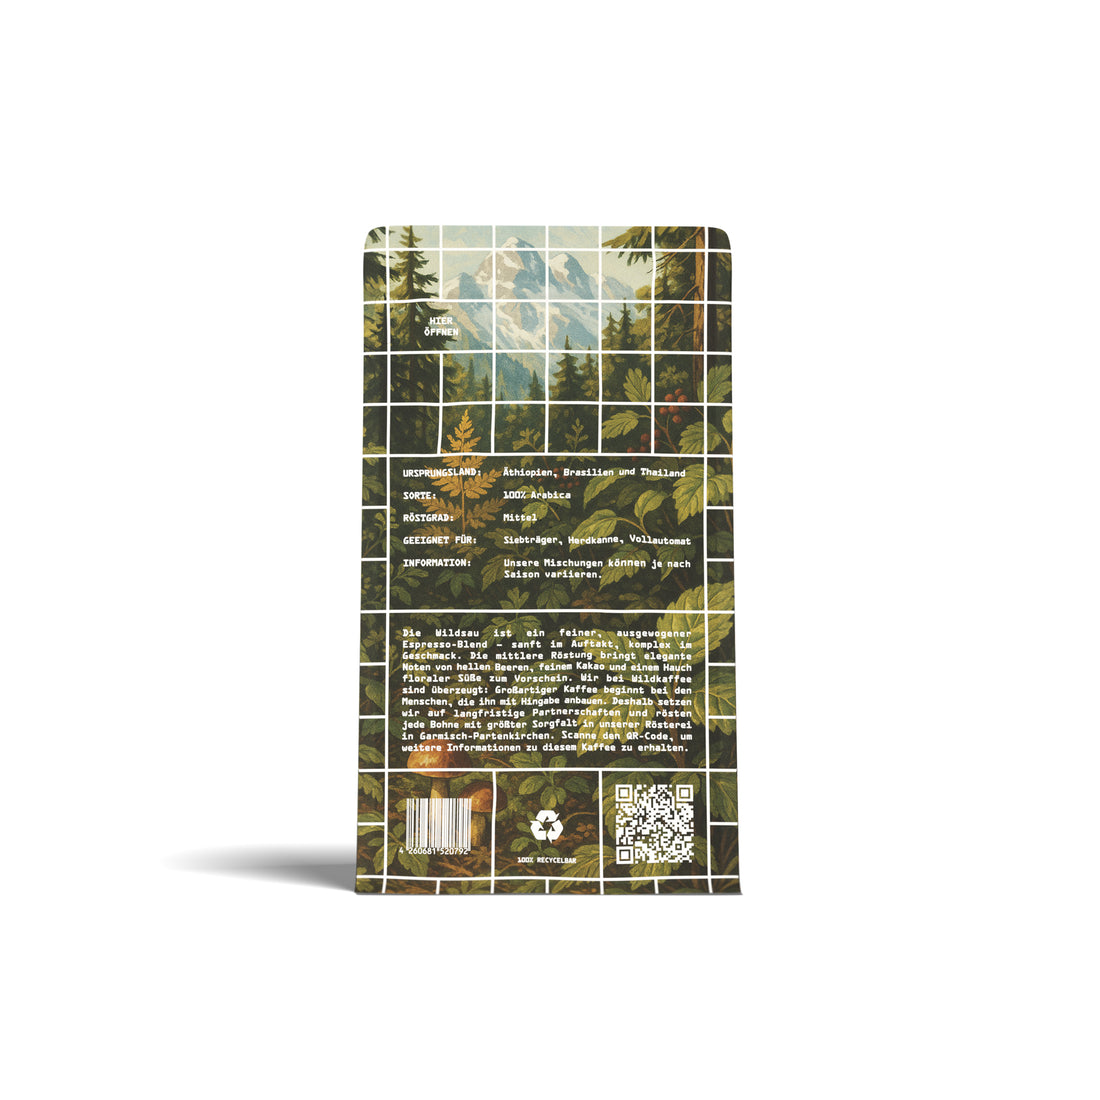
Wildsau Espresso
 Vendor:Wildsau EspressoWildkaffee - Dunkle Röstung
- Regular price
-
€13,12 EUR €35,49 EUR - Regular price
-
- Sale price
-
€13,12 EUR €35,49 EUR - Unit price
-
€37,49 EUR per kg
-
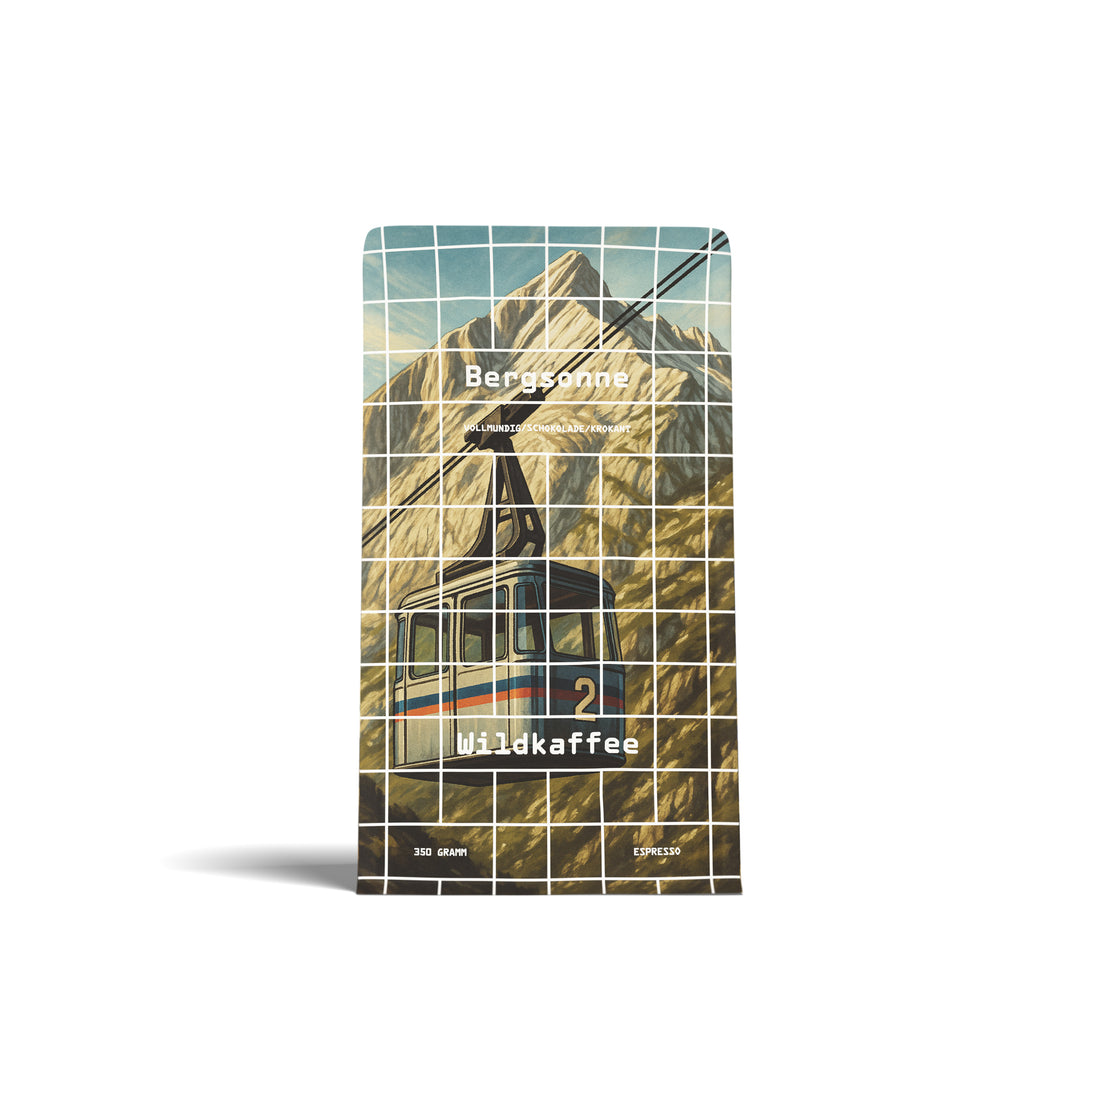
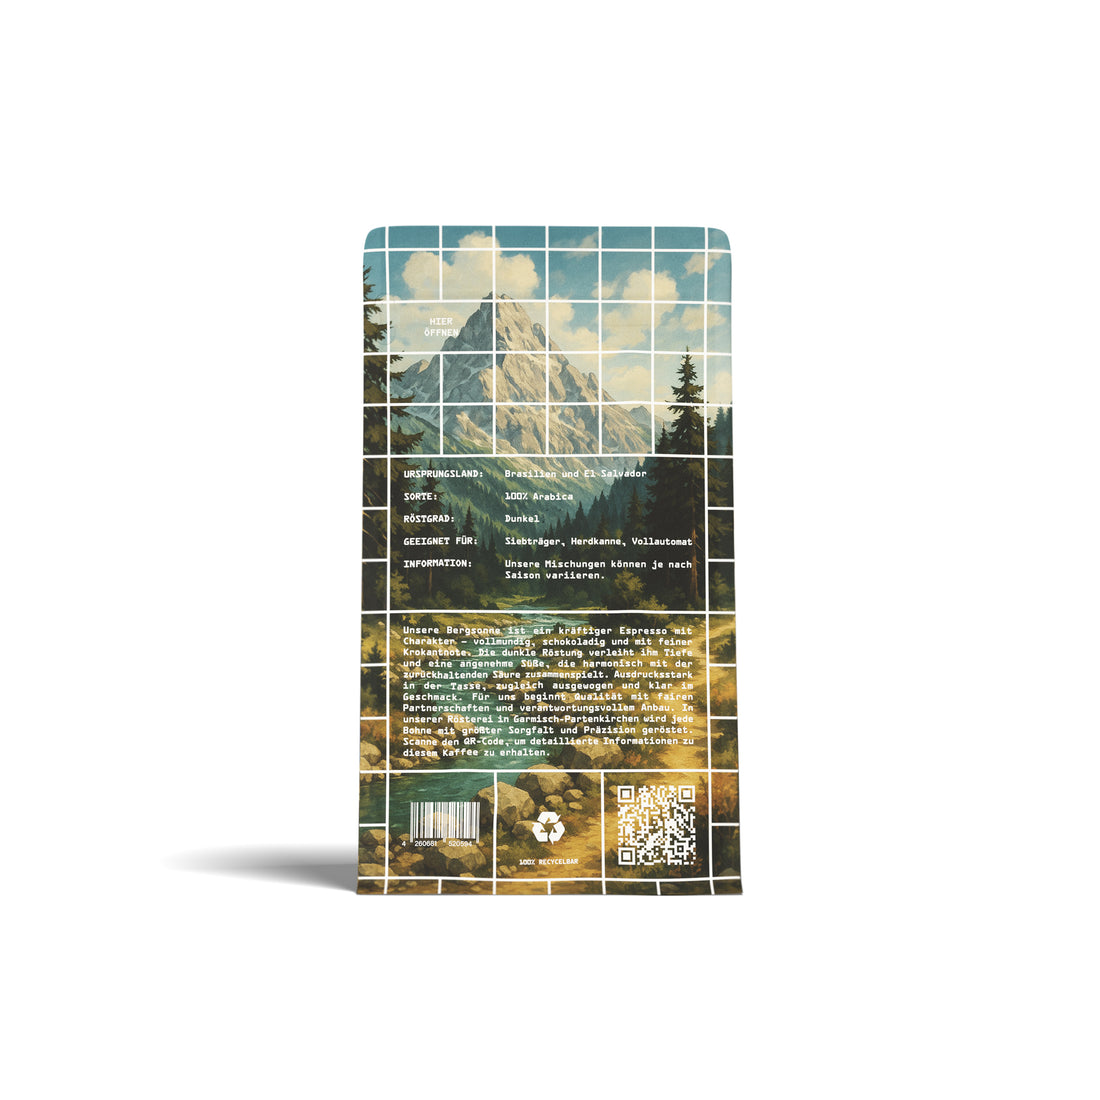
Bergsonne Espresso
 Vendor:Bergsonne EspressoWildkaffee - Dunkle Röstung
- Regular price
-
€12,71 EUR €34,47 EUR - Regular price
-
- Sale price
-
€12,71 EUR €34,47 EUR - Unit price
-
€36,31 EUR per kg
-
Sample Pack - Dark Roast 1
 Vendor:Sample Pack - Dark Roast 1Wildkaffee
- Regular price
-
€22,88 EUR - Regular price
-
€23,99 EUR - Sale price
-
€22,88 EUR - Unit price
-
€32,69 EUR per kg
-
Sample Pack - Dark Roast 2
 Vendor:Sample Pack - Dark Roast 2Wildkaffee
- Regular price
-
€26,95 EUR - Regular price
-
€28,06 EUR - Sale price
-
€26,95 EUR - Unit price
-
€38,50 EUR per kg
-
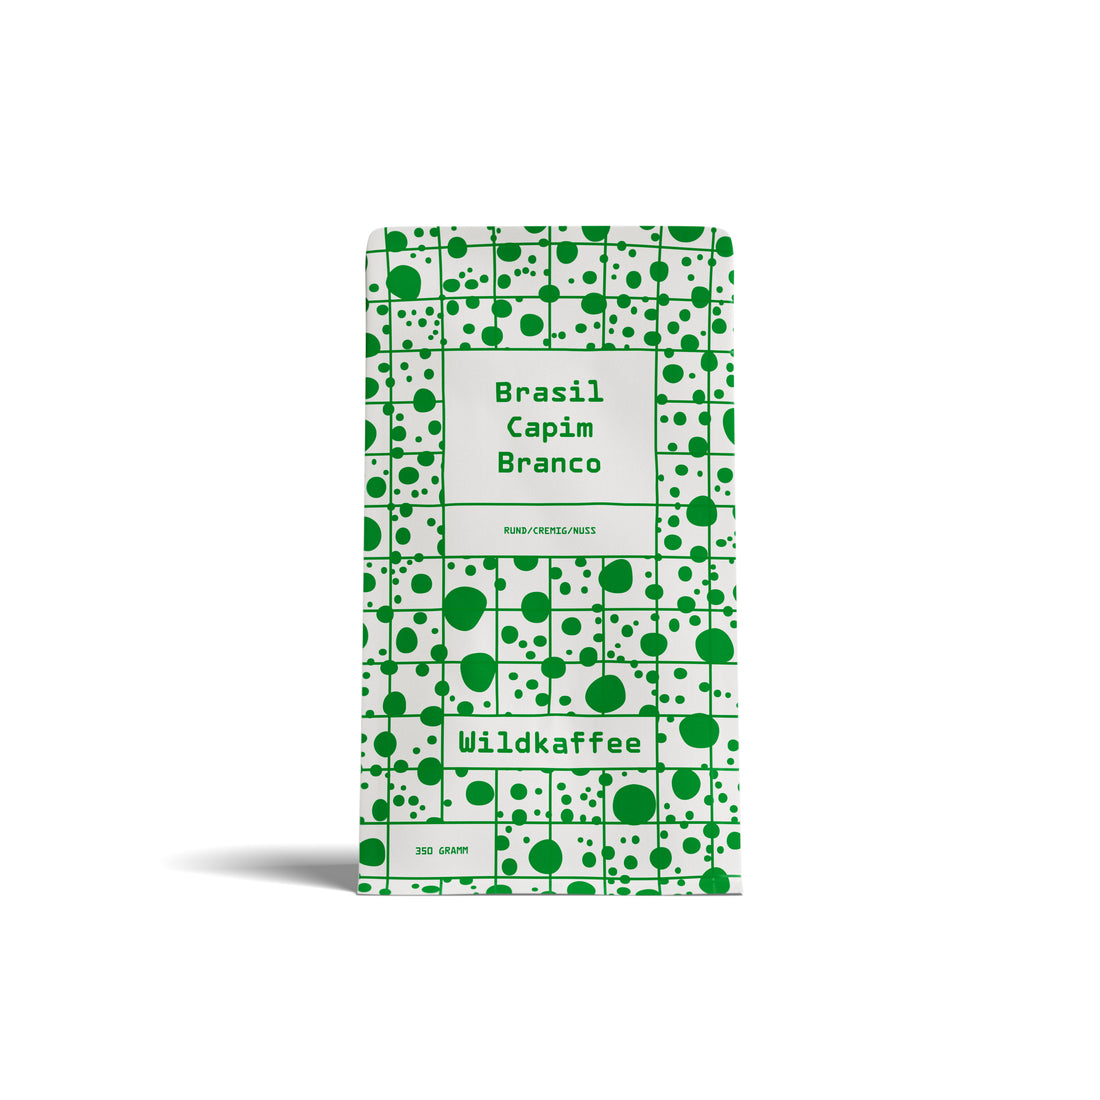
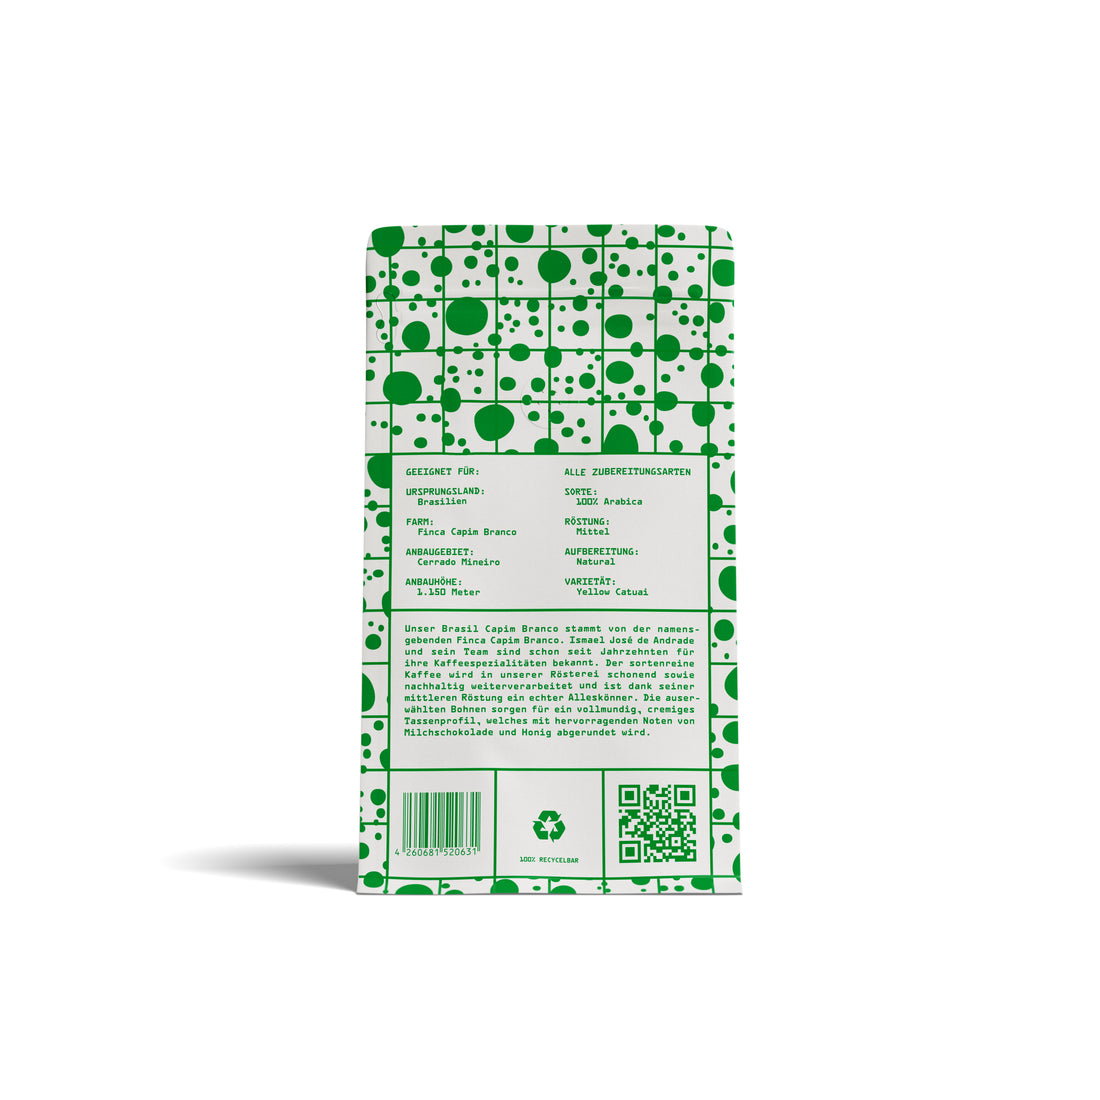
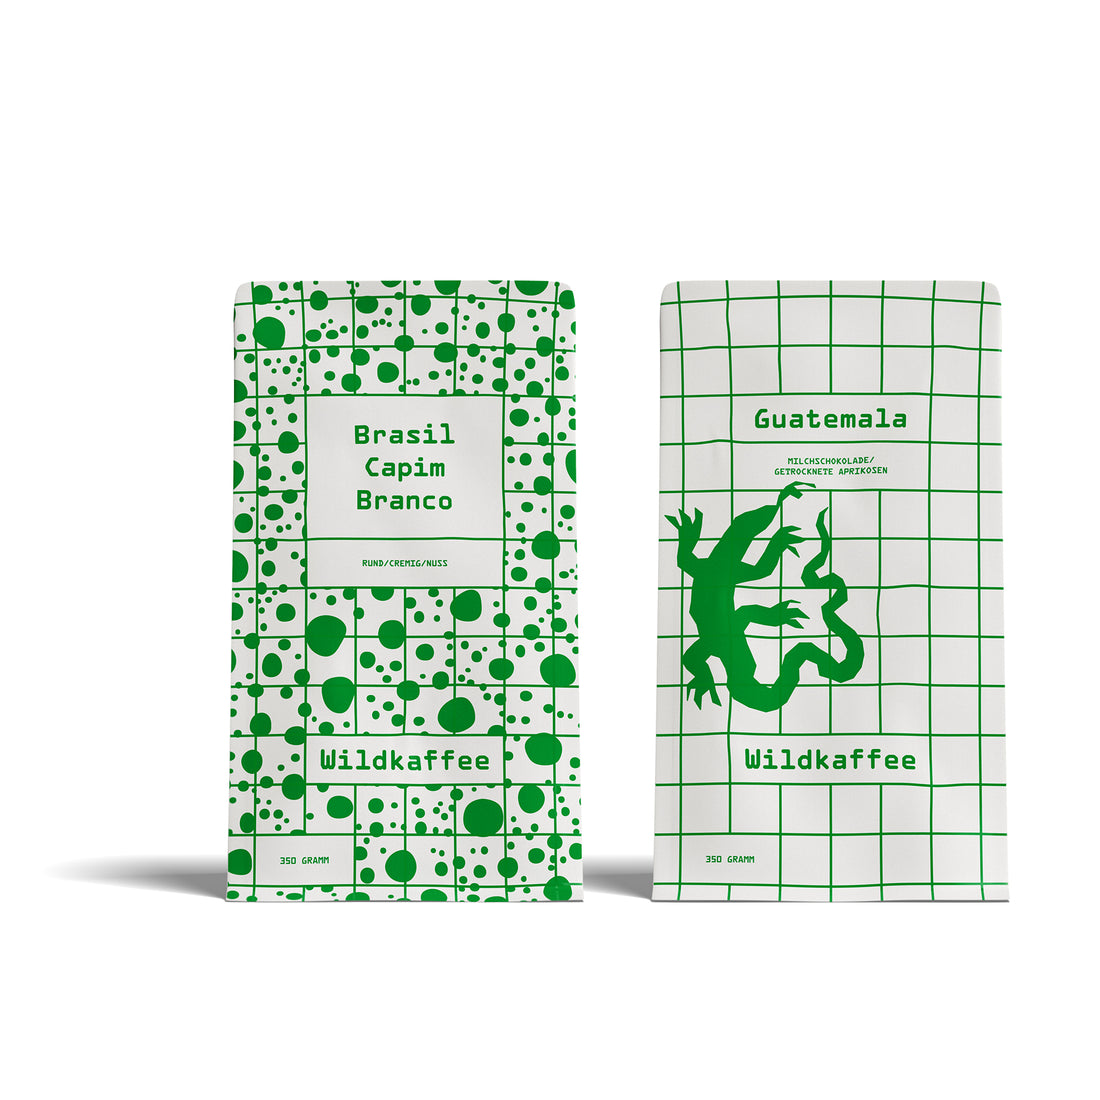
Brazil Capim Branco
 Vendor:Brazil Capim BrancoWildkaffee - Mittlere Röstung
- Regular price
-
€11,69 EUR €31,42 EUR - Regular price
-
- Sale price
-
€11,69 EUR €31,42 EUR - Unit price
-
€33,40 EUR per kg
-
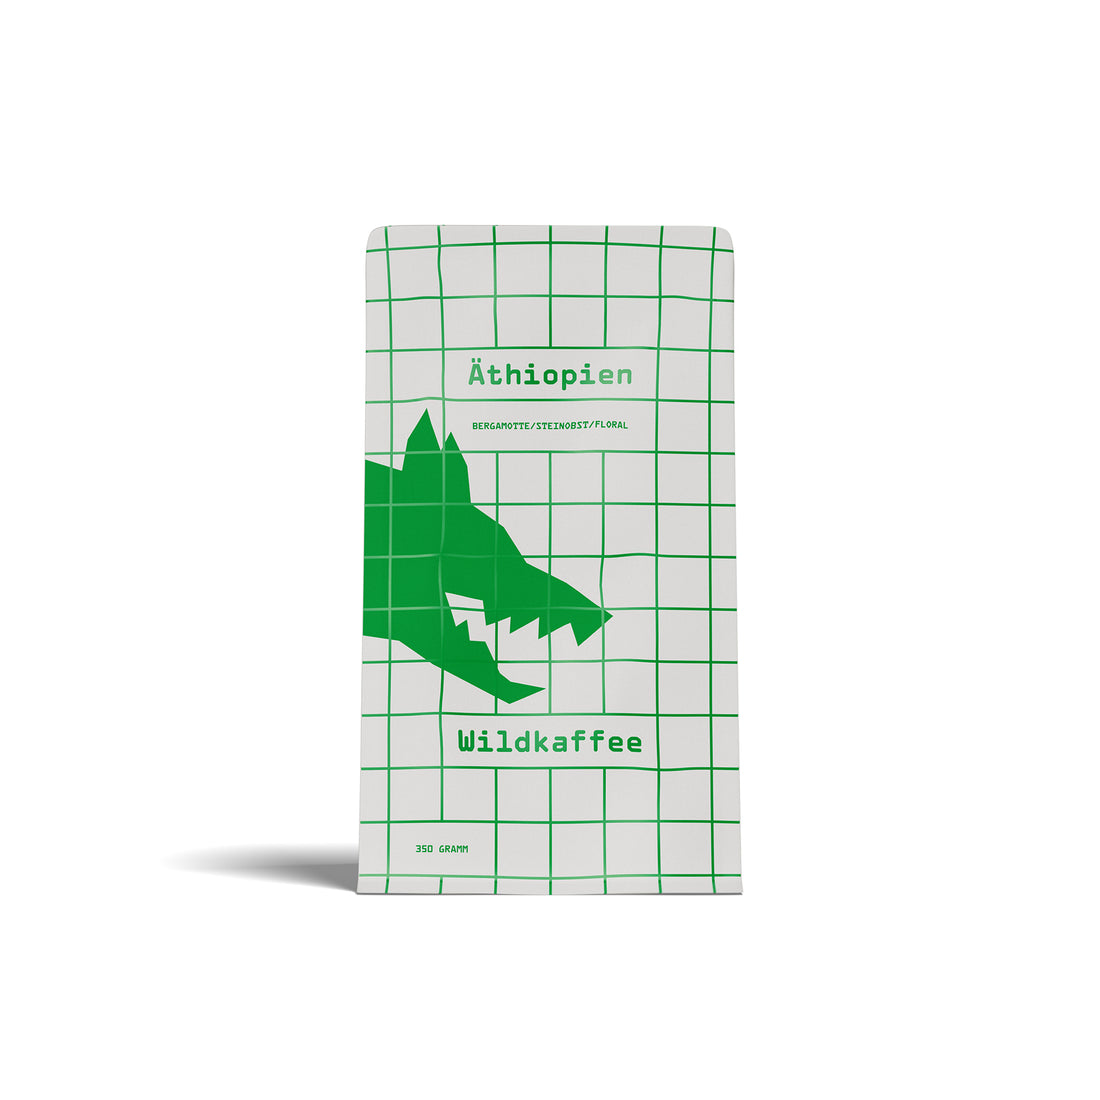
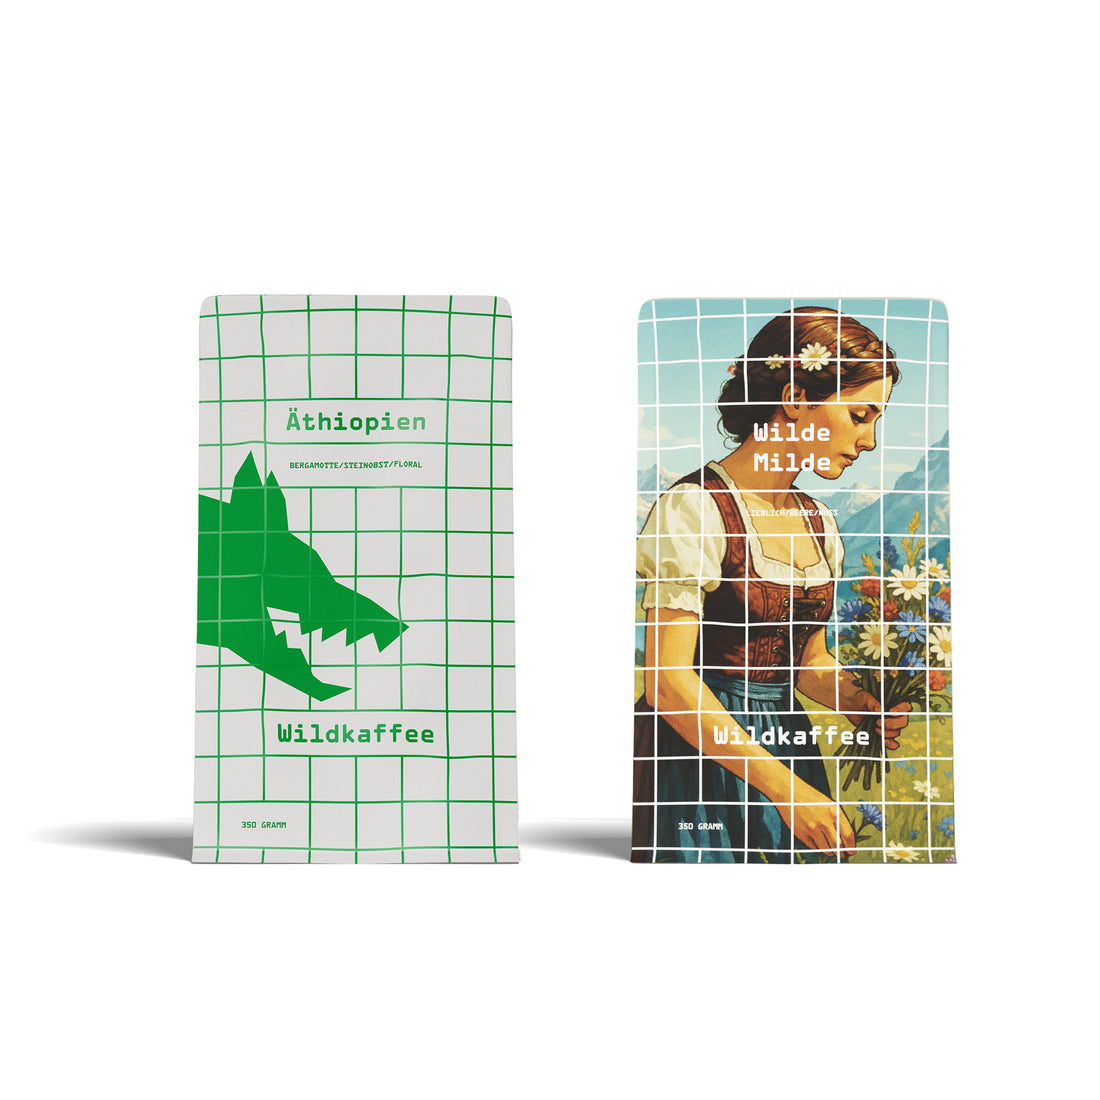
Ethiopia West Arsi
 Vendor:Ethiopia West ArsiWildkaffee - Mittlere Röstung
- Regular price
-
€13,72 EUR €36,51 EUR - Regular price
-
- Sale price
-
€13,72 EUR €36,51 EUR - Unit price
-
€39,20 EUR per kg
-
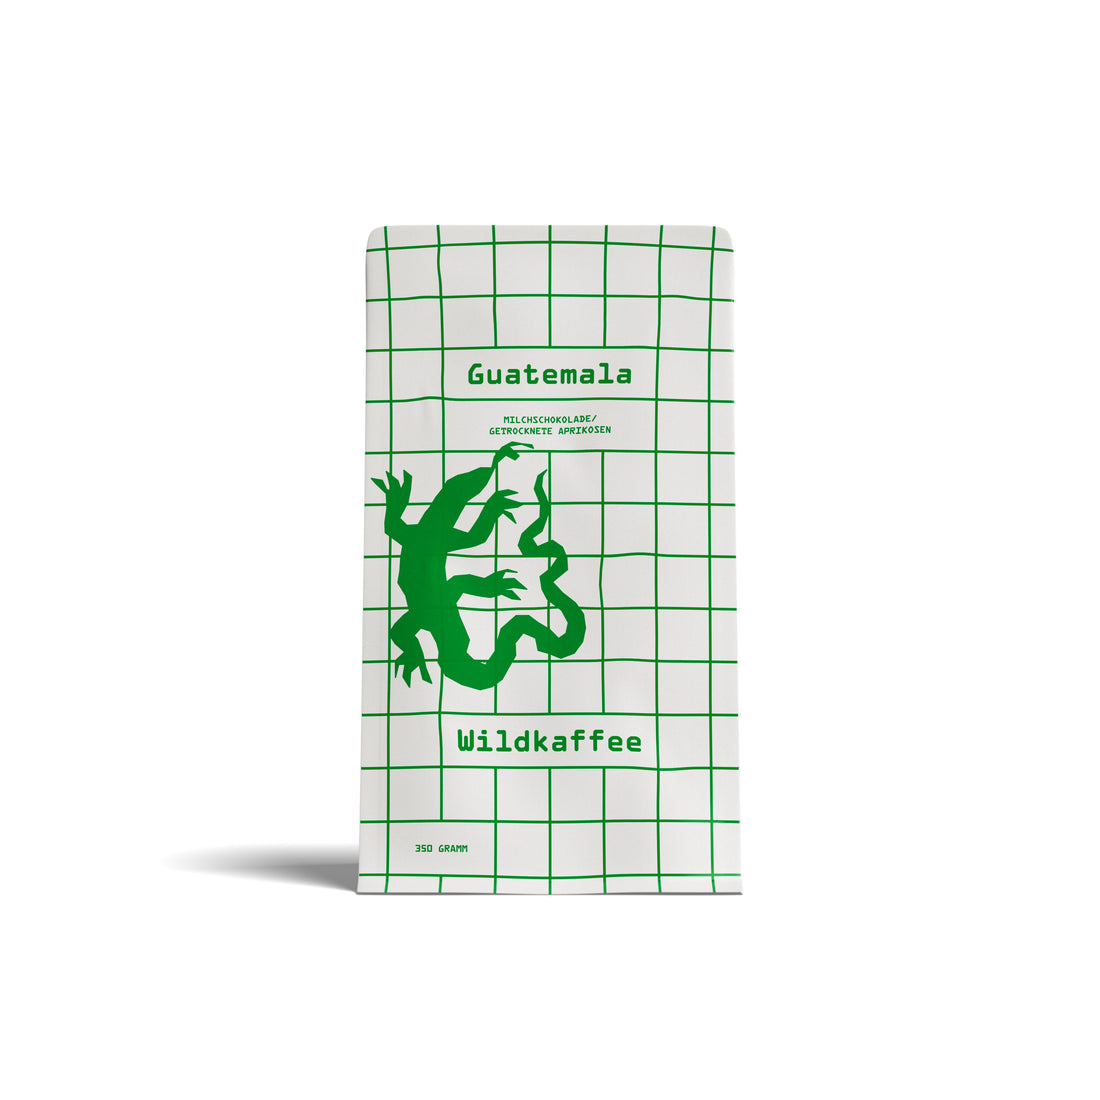
Guatemala San Lorenzo
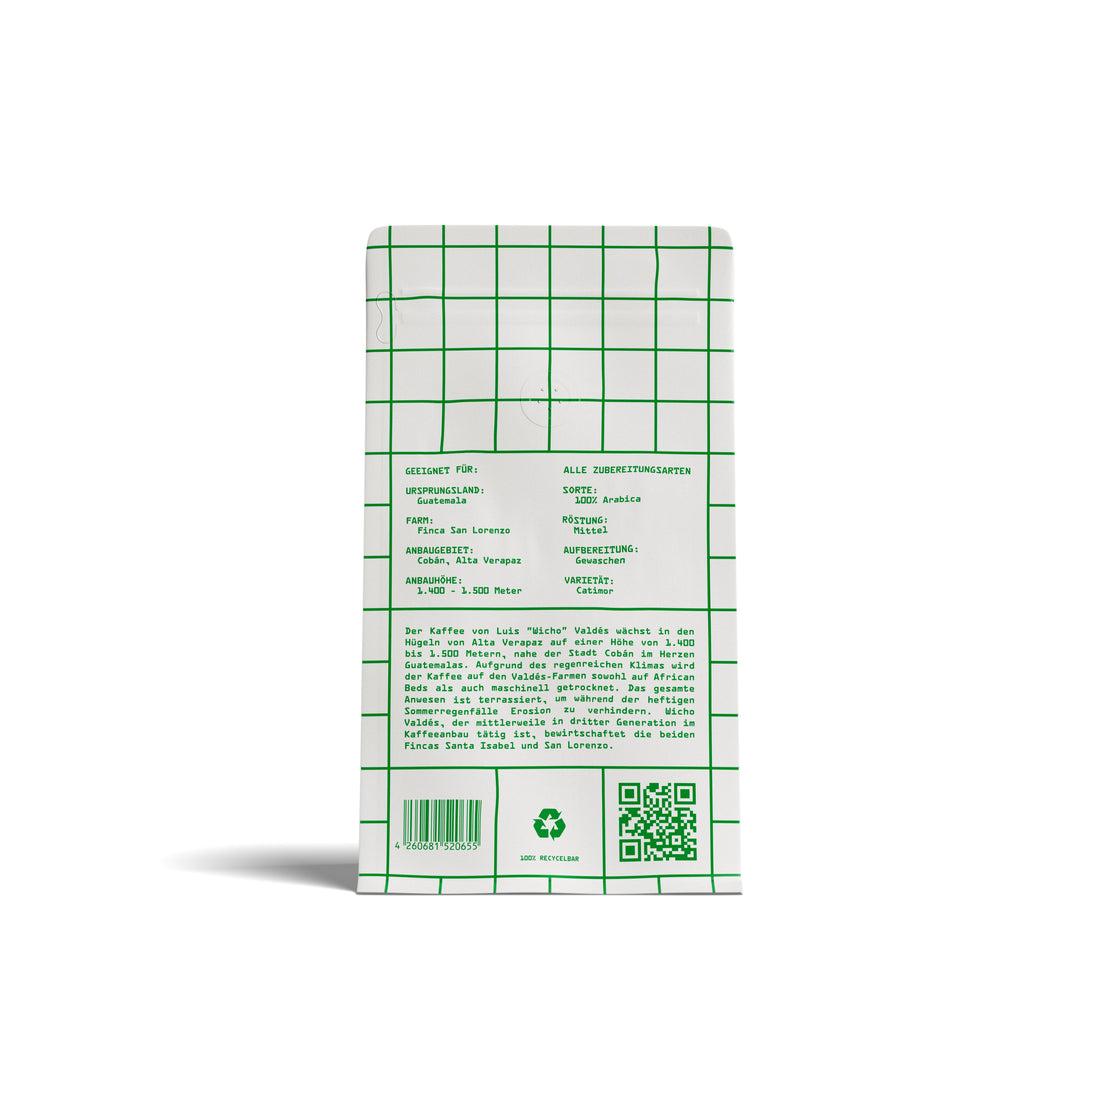 Vendor:Guatemala San LorenzoWildkaffee - Mittlere Röstung
- Regular price
-
€14,13 EUR €37,52 EUR - Regular price
-
- Sale price
-
€14,13 EUR €37,52 EUR - Unit price
-
€40,37 EUR per kg
-
Wilde Milde
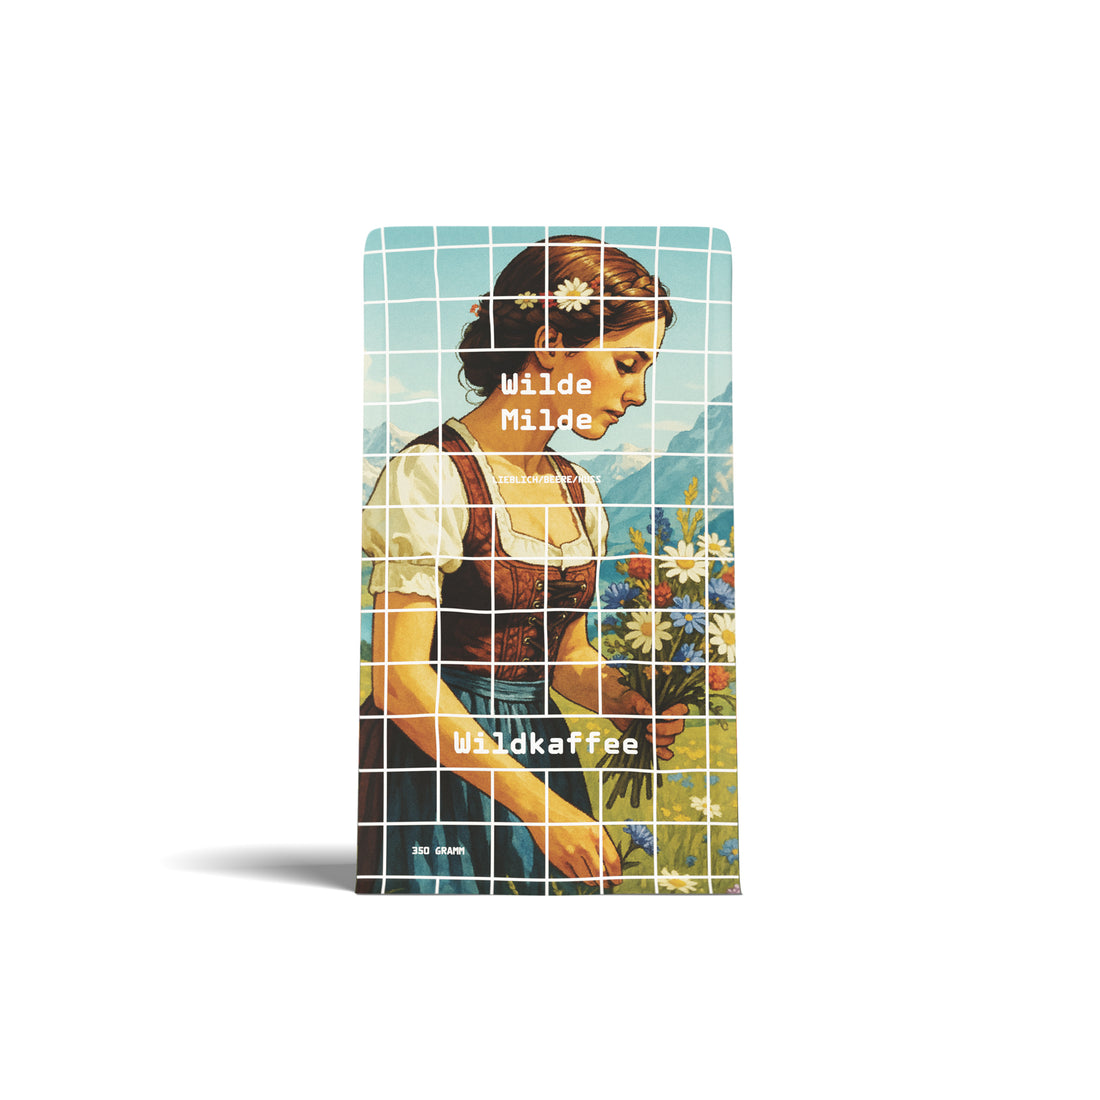
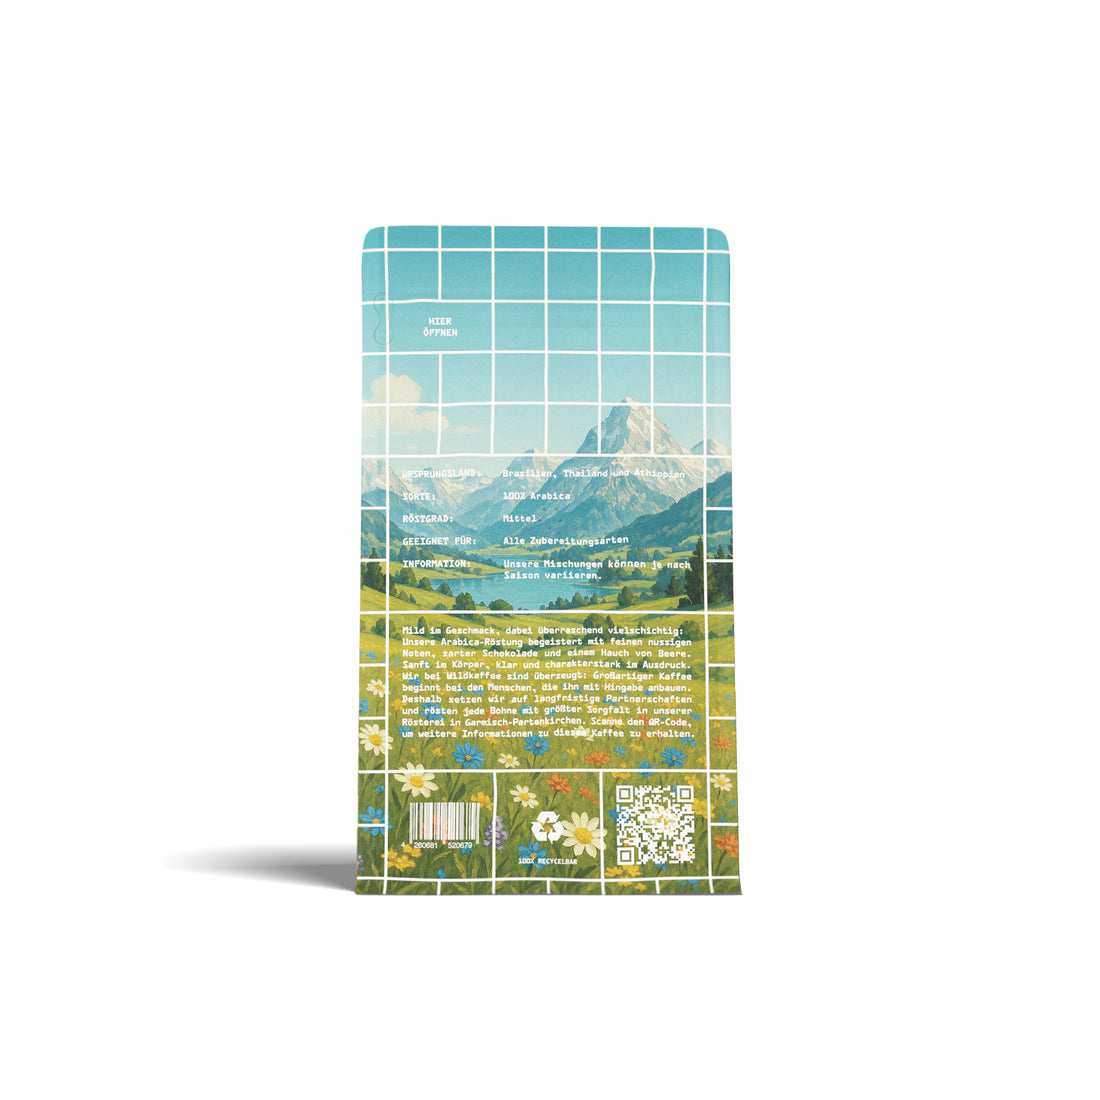 Vendor:Wilde MildeWildkaffee - Mittlere Röstung
- Regular price
-
€12,10 EUR €33,46 EUR - Regular price
-
- Sale price
-
€12,10 EUR €33,46 EUR - Unit price
-
€34,57 EUR per kg
-
Decaffeinated
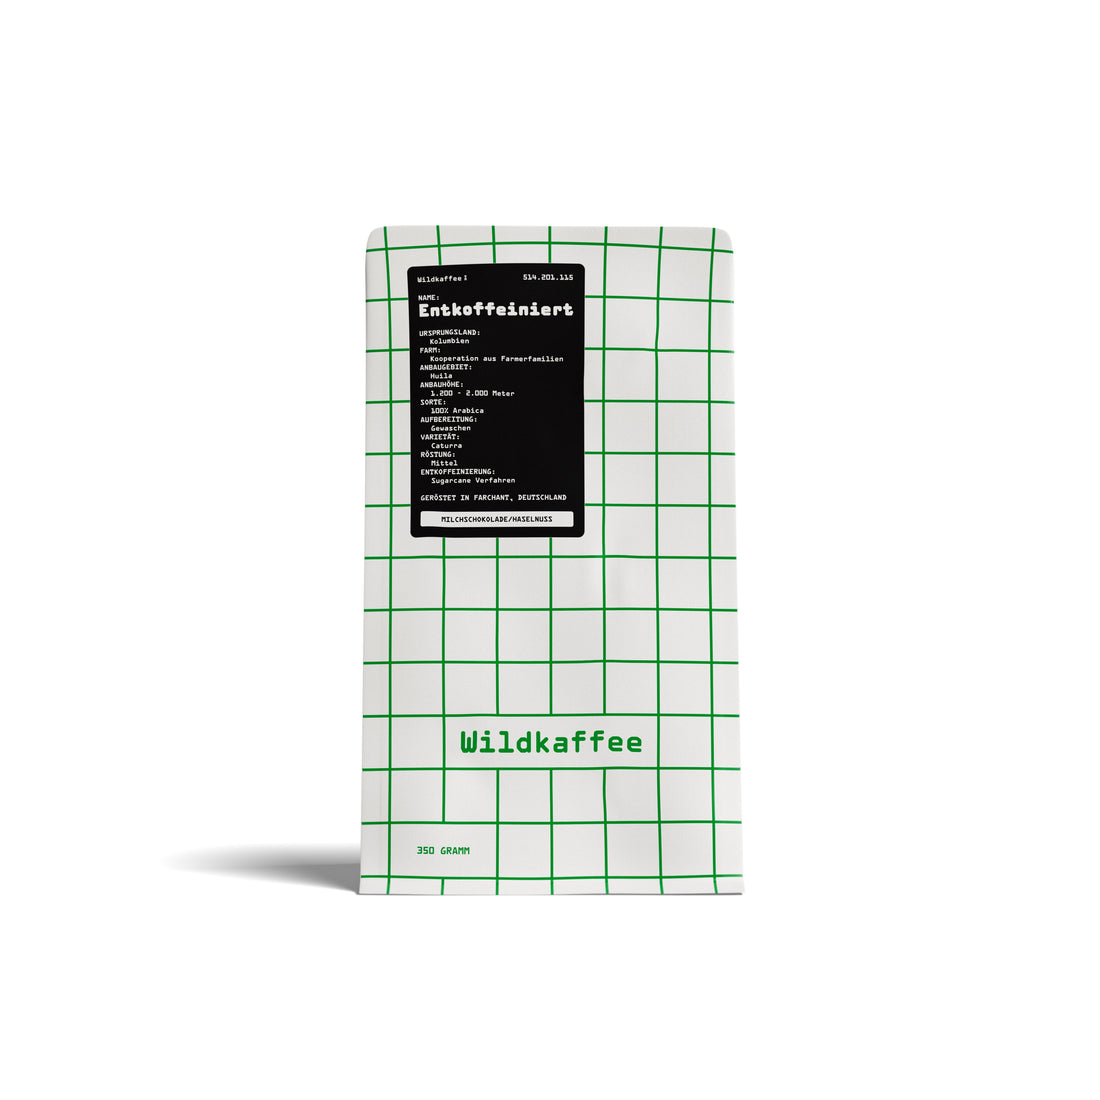 Vendor:DecaffeinatedWildkaffee - Mittlere Röstung
- Regular price
-
€14,13 EUR - Regular price
-
- Sale price
-
€14,13 EUR - Unit price
-
€40,37 EUR per kg
-
Sample Pack - Medium Roast 1
 Vendor:Sample Pack - Medium Roast 1Wildkaffee
- Regular price
-
€24,41 EUR - Regular price
-
€25,82 EUR - Sale price
-
€24,41 EUR - Unit price
-
€34,87 EUR per kg
-
Sample Pack - Medium Roast 2
 Vendor:Sample Pack - Medium Roast 2Wildkaffee
- Regular price
-
€24,41 EUR - Regular price
-
€25,82 EUR - Sale price
-
€24,41 EUR - Unit price
-
€34,87 EUR per kg


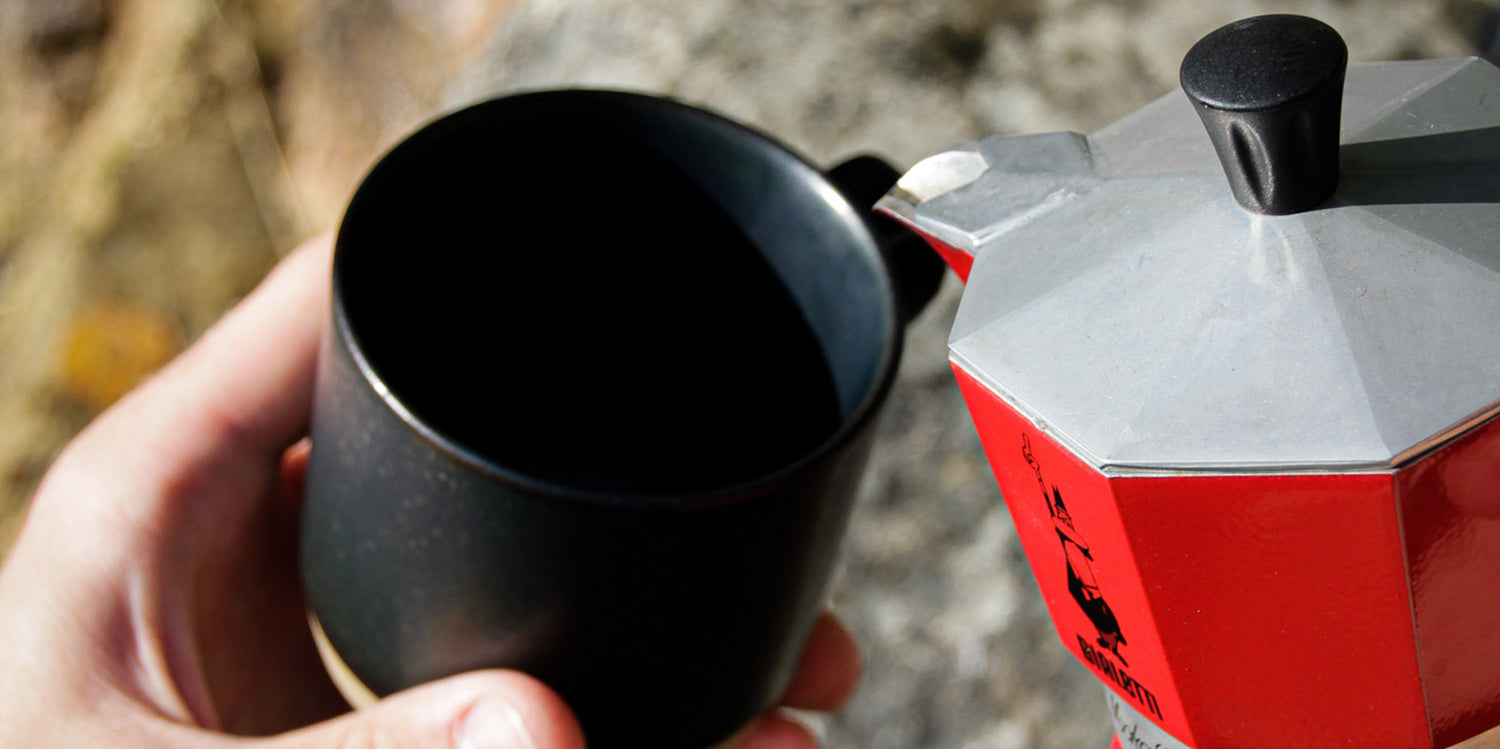
Why should you make coffee with a moka pot / Bialetti?
Quality and taste of coffee preparation with the moka pot / Bialetti
Our step-by-step instructions for preparing with the moka pot
The advantages of a moka pot