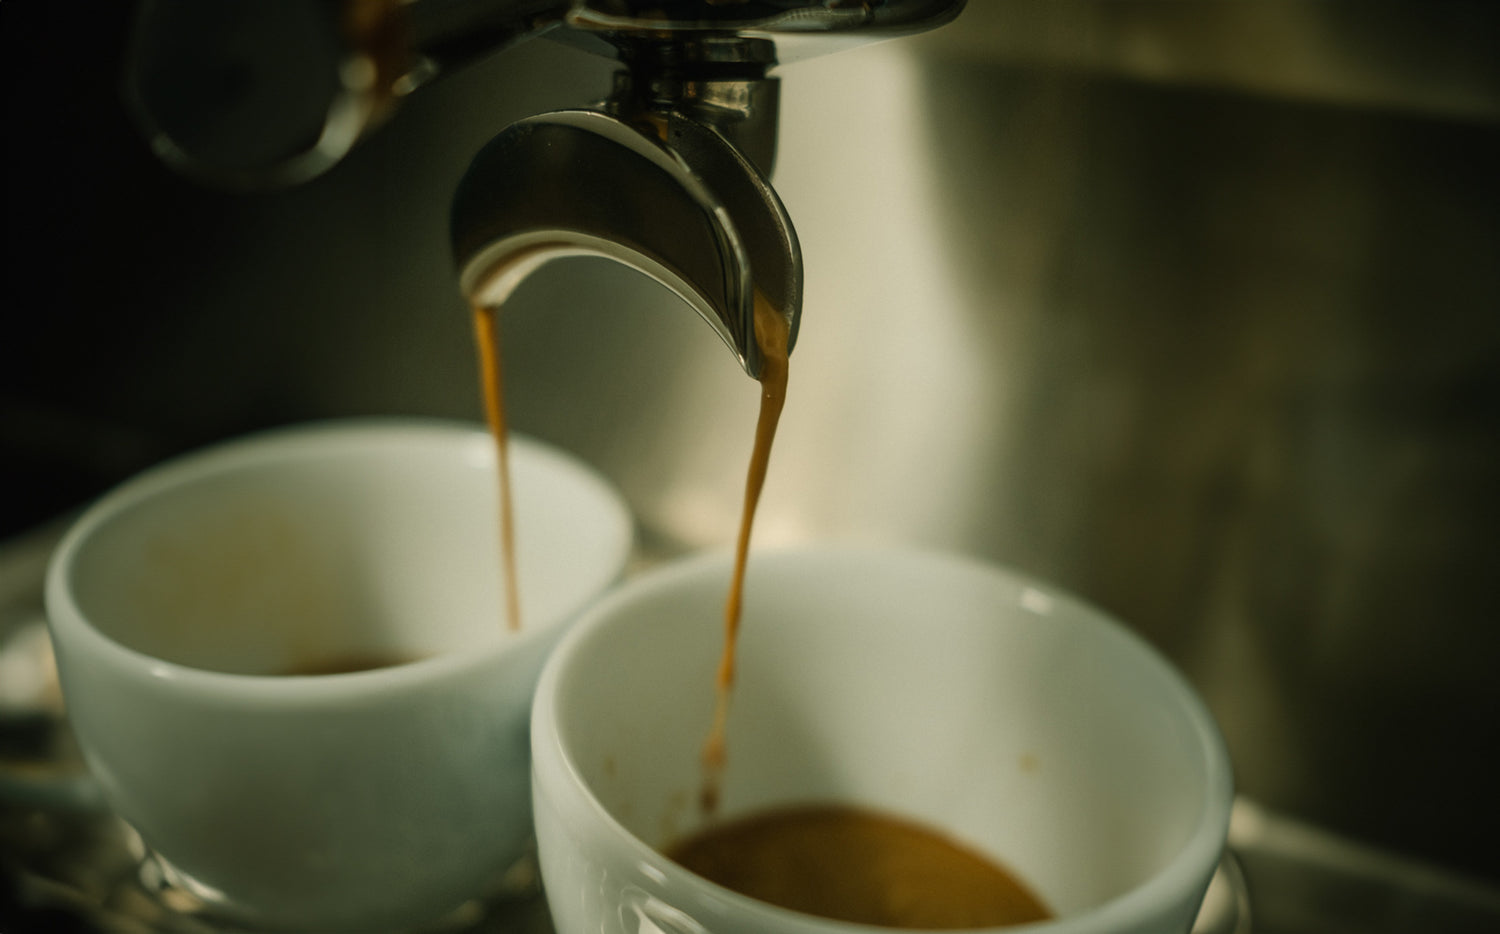
Adjusting the portafilter: The practical espresso dial-in guide
A delightful espresso doesn't happen by chance. Anyone who wants to adjust their portafilter needs a clear vision, reliable measuring points, and a systematic approach. This guide will guide you step by step from the first reference extraction to fine-tuning – precise, repeatable, and without voodoo.
Why the right portafilter settings are crucial
The portafilter is a sensitive system: grinder, grind size , dose, water, tamper pressure , temperature, brewing pressure, and puck preparation all influence each other. Small deviations add up and determine whether your espresso is clear, sweet, and balanced, or flat, sour, or bitter. With precise espresso settings, you achieve consistency, can interpret beans precisely, and avoid channeling.
Espresso target values (quick overview)
Brew ratio, shot time, yield
- Brew ratio: typically starts at 1:2 (e.g., 18 g in, 36 g out). Modern brewing is often 1:2.2–1:2.5, classic brewing is 1:1.8–1:2.0.
- Shot time: 25–30 seconds from the first drop or from the start of pumping, depending on the pre-infusion.
- Sensory impression: sweet, clear, with defined acidity; no dominant bitterness or astringency.
Brewing temperature and pressure
- Temperature: 90–95 °C per roast (higher for light roasts, lower for dark roasts). Stability is more important than absolute numbers.
- Pressure: 9 bar as standard. 6–7 bar or longer pre-infusion helps reduce channeling in light roasts.
Grind size , dose and yield
- Grind size: finer = slower flow, higher extraction; coarser = faster, lower extraction.
- Dosage: 16–20 g in a 58 mm sieve is typical. Pay attention to the sieve size (filled volume vs. headspace).
- Yield (beverage mass): measure using an espresso scale, target weight defines the brew ratio.

Equipment check: grinder, scale, water, tamper, WDT
Before you tweak the recipe, make sure your setup is correct:
- Mill : Sharp grinding discs, continuously variable or sufficiently fine. Low retention for consistency.
- Scale: fast response time, 0.1 g accuracy. Tare before drawing, stop shot by mass.
- Tamper : flat, matching the screen. Light, reproducible pressure is sufficient – more importantly, flat and straight.
- WDT Tool / Distribution: Break up lumps, level the bed for even resistance.
- Keep the strainer/shower strainer clean and the seals intact; otherwise, the risk of channeling increases.
Water quality (GH, KH, pH) and influence on taste
Water is your largest ingredient. The goal is to strike a balance between extractability, sensory quality, and boiler health:
- Total hardness (GH): approx. 50-100 mg/L as CaCO3.
- Carbonate hardness/alkalinity (KH): approx. 40–70 mg/L as CaCO3 for buffering without a dull cup.
- pH: close to 7.0; slight deviations are acceptable as long as stability is maintained.
Water that's too soft extracts shallowly and accentuates acidity; water that's too hard often tastes dull and promotes limescale. Use suitable bottled water, filter cartridges, or specific blends.
Step-by-step: First dial-in in 15 minutes
Initial recipe: 18 g in, 36 g out, 25–30 s
- Allow the machine to heat up completely (at least 20–30 minutes), preheat the empty sieve.
- Weigh and grind 18.0 g of beans. Aim for the first drops approximately 6–8 seconds after pumping starts.
- Start brewing, stop at 36 g in the cup. Note the time, taste, texture, and crema.
Assess the result: If the shot is too sour/weak, grind finer. If it's too bitter/empty, grind coarser. Adjust only one parameter at a time.
Puck Prep: Distribution, WDT, Leveling, Tamp
- Distribute the ground material evenly in the sieve (RDT optional for anti-static).
- Use the WDT tool to loosen clumps until a fine, loose structure is achieved.
- Leveling tool or finger swipe for a flat surface.
- Tamping: flat, centered, reproducible; remove excess coffee grounds from the rim.
Clean puck prep is the quickest way to avoid channeling – often more important than subtle pressure play.
Pre-infusion and flow management
A short pre-infusion (3–8 seconds) wets the puck, reduces rim break, and helps with light roasts. With flow profiling or profiling valves, you can control the initial flow and thus improve uniformity. Basic rules:
- Gentle start (low flow/pressure), then increase to target profile (e.g. 9 bar).
- For early bleaching or injections: extend pre-infusion or reduce initial flow.
- Consistency over creativity: A clean standard profile beats uncontrolled “play”.

Systematically readjust (If-Then matrix)
Detect and correct underextraction
Symptoms: sour, thin, underdeveloped sweetness, short finish.
- Grind finer (small steps).
- Extend shot time or slightly increase brew ratio (e.g. 1:2.2).
- Increase brewing temperature +1 °C (PID setting espresso).
- Extend pre-infusion by 2–3 s, reduce starting flow.
Detect and correct overextraction
Symptoms: bitter, dry/astringent, dull.
- Grind coarser.
- Shorten the brew ratio (e.g. 1:1.9 instead of 1:2.2) or stop earlier.
- Reduce temperature by −1 °C.
- Reduce brewing pressure moderately (e.g. 8 instead of 9 bar) if the machine/OPV allows it.
Avoid channeling : sieve, shower sieve, seals
- Select a sieve appropriate for the dose; too much headspace promotes edge breakage.
- Keep the shower screen, portafilter nose, and brewing group clean; coffee fats interfere with wetting.
- Check seals: Unevenness leads to lateral leakage and splashing.
- Consistent puck prep (WDT, leveling) and flat tamping; no edge compression.
Machine parameters: pressure, temperature, PID & OPV
The machine provides the "climate" for extraction. Understand its adjustments:
- PID: regulates the temperature. Note the offset between the boiler and the brewing group.
- Adjust the OPV: limits the maximum pressure. Often factory-set to 9–10 bar; consider 6–7 bar for light roasts.
- Adjust portafilter pressure: Only change in small steps, always check with a reference shot.
9 bar vs. 6–7 bar for light roasts
9 bar is the proven standard and works for most roasts. Very light beans often benefit from 6–7 bar or longer pre-infusion: less channeling, a smoother start, and more sweetness. Try combining this with a finer grind and a slightly higher temperature.
Temperature offsets depending on the degree of roasting
- Light roasts: 93–95 °C – supports the extraction of organic acids and complex sweetness.
- Medium roasts: 92–94 °C – balanced.
- Dark roasts: 90–92 °C – avoids burnt notes and bitterness.
Important: PID display ≠ actual brewing water temperature . Let the machine stabilize and maintain a constant workflow.

Recipes for light vs. dark roasts
Modern Espresso (1:2.2–1:2.5)
For light to medium roasted specialty beans:
- 18g in → 40-45g out in 28-35 s.
- Temperature 93–95 °C, pre-infusion 5–10 s, if necessary 6–8 bar peak pressure.
- Result: juicy, clear, pronounced fruit with structured sweetness.
Classic Italian (1:1.8–1:2.0)
For medium to dark roasted blends:
- 18g in → 32-36g out in 25-30 s.
- Temperature 90–92 °C, pre-infusion 3–5 s, about 9 bar.
- Result: dense body, chocolate/nut, low acidity, little bitterness.
Common mistakes and quick solutions
Splashing, channeling, sour or bitter taste
- Spray/side stream: Improve puck prep, clean rim, clean shower screen, check seal.
- Espresso tastes sour: grind finer, longer extraction time, temperature +1 °C, extend pre-infusion.
- Espresso tastes bitter: grind coarser, shorter ratio (e.g. 1:1.9), temperature −1 °C, slightly reduce pressure.
- Unclear cup: Check water (GH/KH), clean grinder, use fresh beans.
Care and consistency
Cleaning, descaling, mill maintenance, retention
- Daily: Backwash with blind sieve (with and without coffee oil remover), clean shower sieve/portafilter.
- Weekly: Disassemble grinder, remove fats/oils, minimize retention (purge before shot).
- Regularly: Descale according to water hardness plan; better option: use suitable water.
- Consistency: same workflow, same heat-up time, same tools – this makes comparisons valid.
Troubleshooting checklist to print
- Target prescription noted? (e.g., 18 g in, 36 g out, 25–30 s, 93 °C, 9 bar)
- Are the beans fresh? Roast date appropriate for the style?
- Grinder clean, grinding discs sharp, retention purged?
- Water in target range (GH/KH/pH)?
- Sieve size appropriate for dose, headspace checked?
- WDT/Distribution performed, surface leveled?
- Flat and tamped in the middle, edges clean?
- Pre-infusion consistent, supply stopped by weight?
- Taste noted: sour/bitter/clear – next step defined?
- Change only one parameter at a time; take 2-3 shots to confirm.
Let's continue with your favorite coffee: Write down your basic recipe, change only one parameter per iteration, and taste your way to balance. For a deeper understanding , sensory training , water workshops, and documenting every adjustment are worthwhile.


