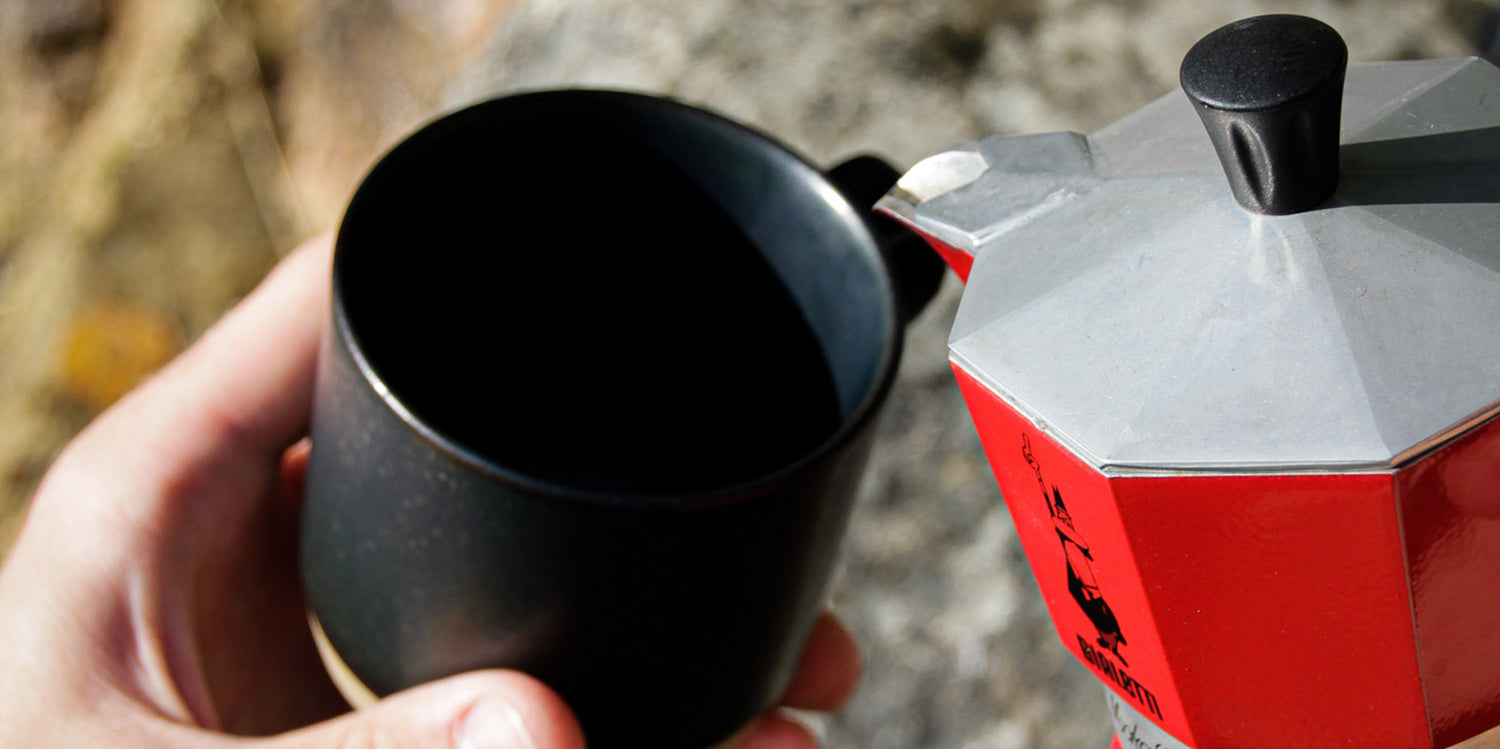
Coffee beans for the moka pot
Why should you make coffee with a moka pot / Bialetti?
Quality and taste of coffee preparation with the moka pot / Bialetti
Our step-by-step instructions for preparing with the moka pot
The advantages of a moka pot
Coffees for this preparation method
12 products
-
Vienna Calling
 Vendor:Vienna CallingWildkaffee - Dunkle Röstung
- Regular price
-
$15.00 USD $38.00 USD - Regular price
-
- Sale price
-
$15.00 USD $38.00 USD - Unit price
-
$42.86 USD per kg
-
Out of the Dark

 Vendor:Out of the DarkWildkaffee - Dunkle Röstung
- Regular price
-
$12.00 USD $33.00 USD - Regular price
-
- Sale price
-
$12.00 USD $33.00 USD
-
Wilderer Espresso

 Vendor:Wilderer EspressoWildkaffee - Dunkle Röstung
- Regular price
-
$12.00 USD $33.00 USD - Regular price
-
- Sale price
-
$12.00 USD $33.00 USD - Unit price
-
$34.29 USD per kg
-
Hausespresso

 Vendor:HausespressoWildkaffee - Dunkle Röstung
- Regular price
-
$12.00 USD $33.00 USD - Regular price
-
- Sale price
-
$12.00 USD $33.00 USD - Unit price
-
$34.29 USD per kg
-
Wildsau Espresso

 Vendor:Wildsau EspressoWildkaffee - Dunkle Röstung
- Regular price
-
$13.00 USD $35.00 USD - Regular price
-
- Sale price
-
$13.00 USD $35.00 USD - Unit price
-
$37.14 USD per kg
-
El Salvador - Coffee School Project
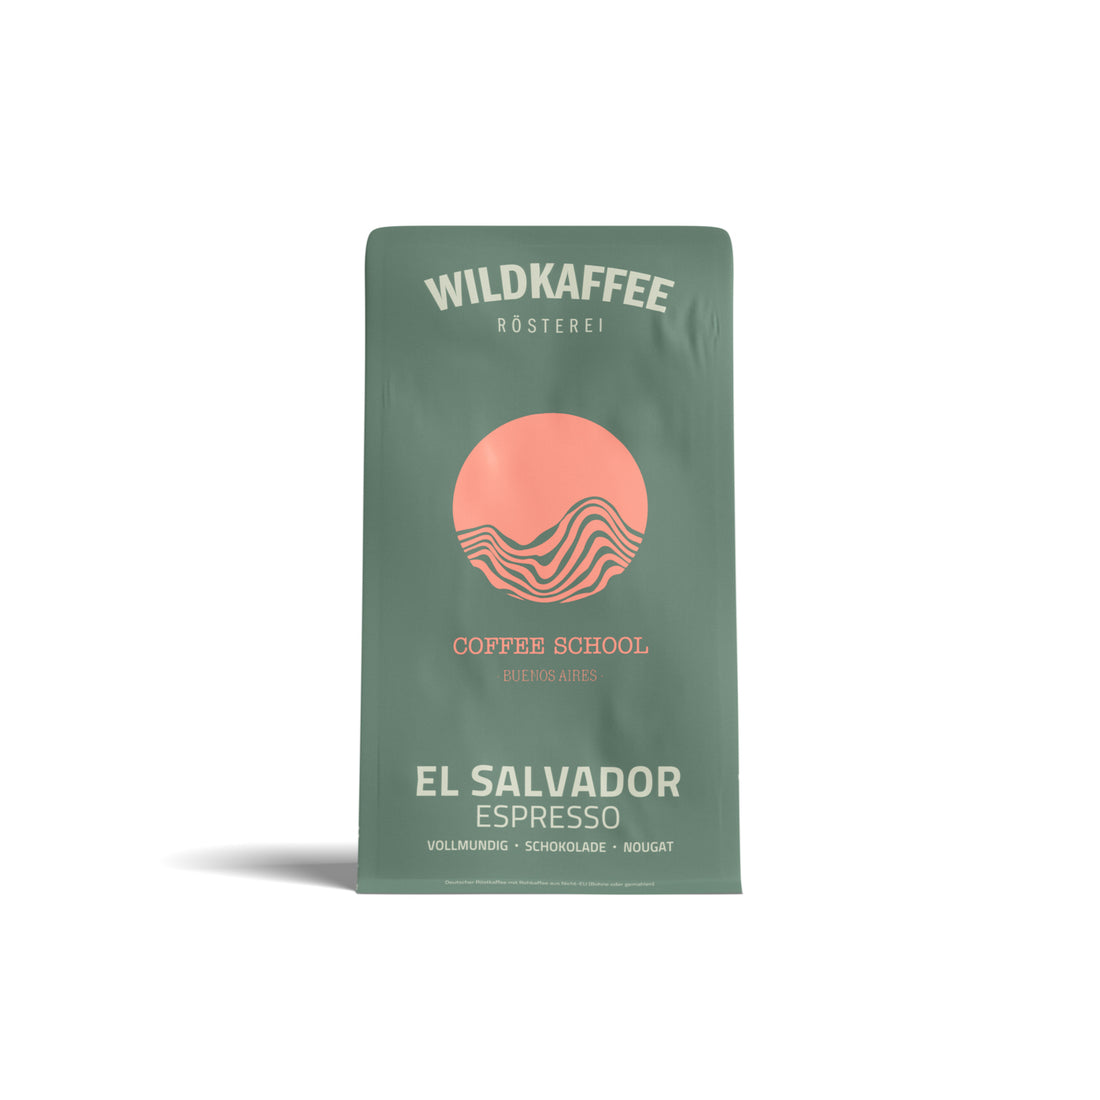 Vendor:El Salvador - Coffee School ProjectWildkaffee - Dunkle Röstung
- Regular price
-
$14.00 USD $36.00 USD - Regular price
-
- Sale price
-
$14.00 USD $36.00 USD - Unit price
-
$40.00 USD per kg
-
Bergsonne Espresso
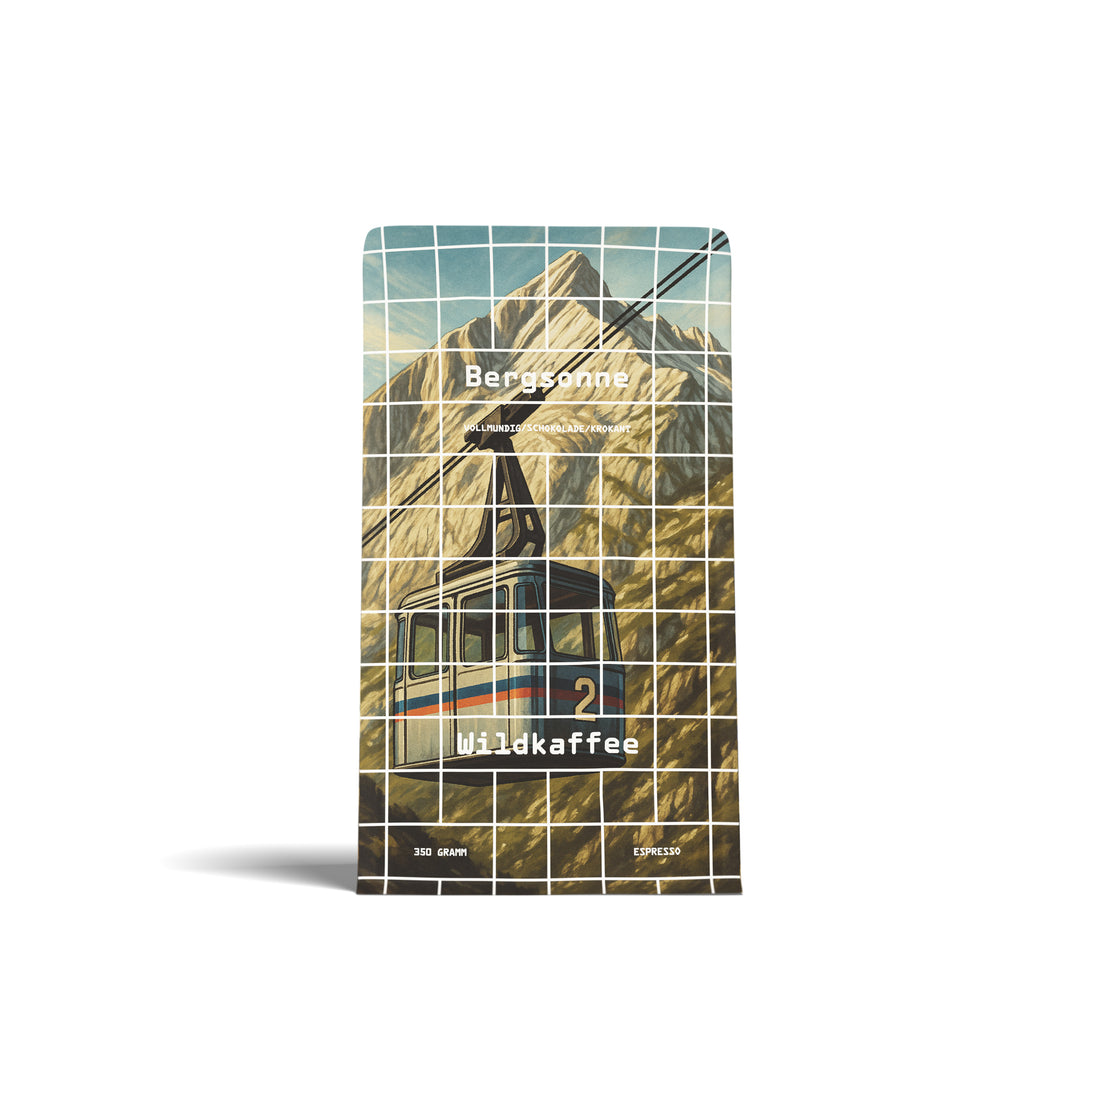
 Vendor:Bergsonne EspressoWildkaffee - Dunkle Röstung
- Regular price
-
$13.00 USD $34.00 USD - Regular price
-
- Sale price
-
$13.00 USD $34.00 USD - Unit price
-
$37.14 USD per kg
-
Indonesia Senja Malino
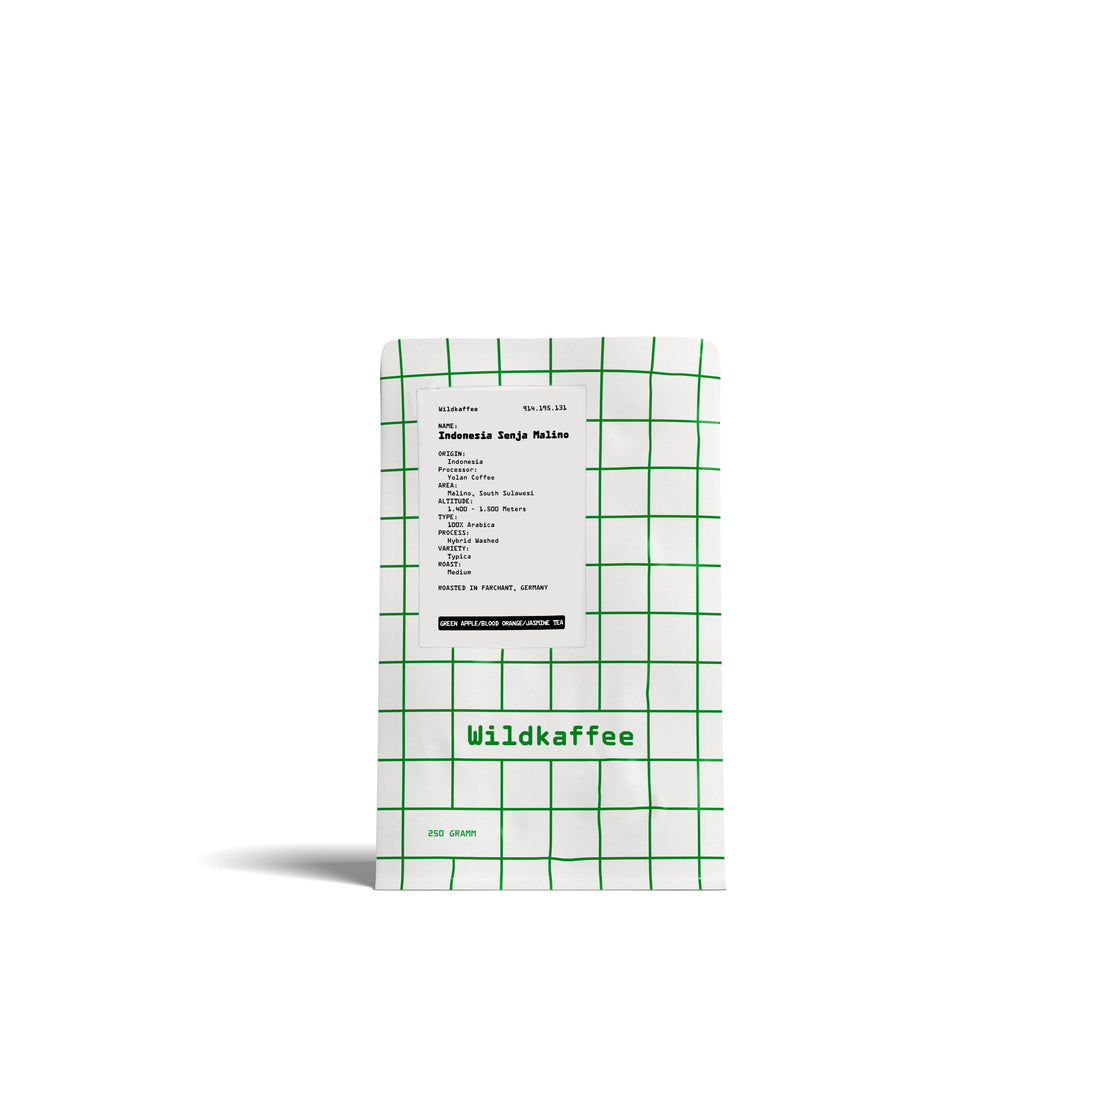 Vendor:Indonesia Senja MalinoWildkaffee - Mittlere Röstung
- Regular price
-
$15.00 USD - Regular price
-
- Sale price
-
$15.00 USD - Unit price
-
$42.86 USD per kg
-
Brazil Capim Branco
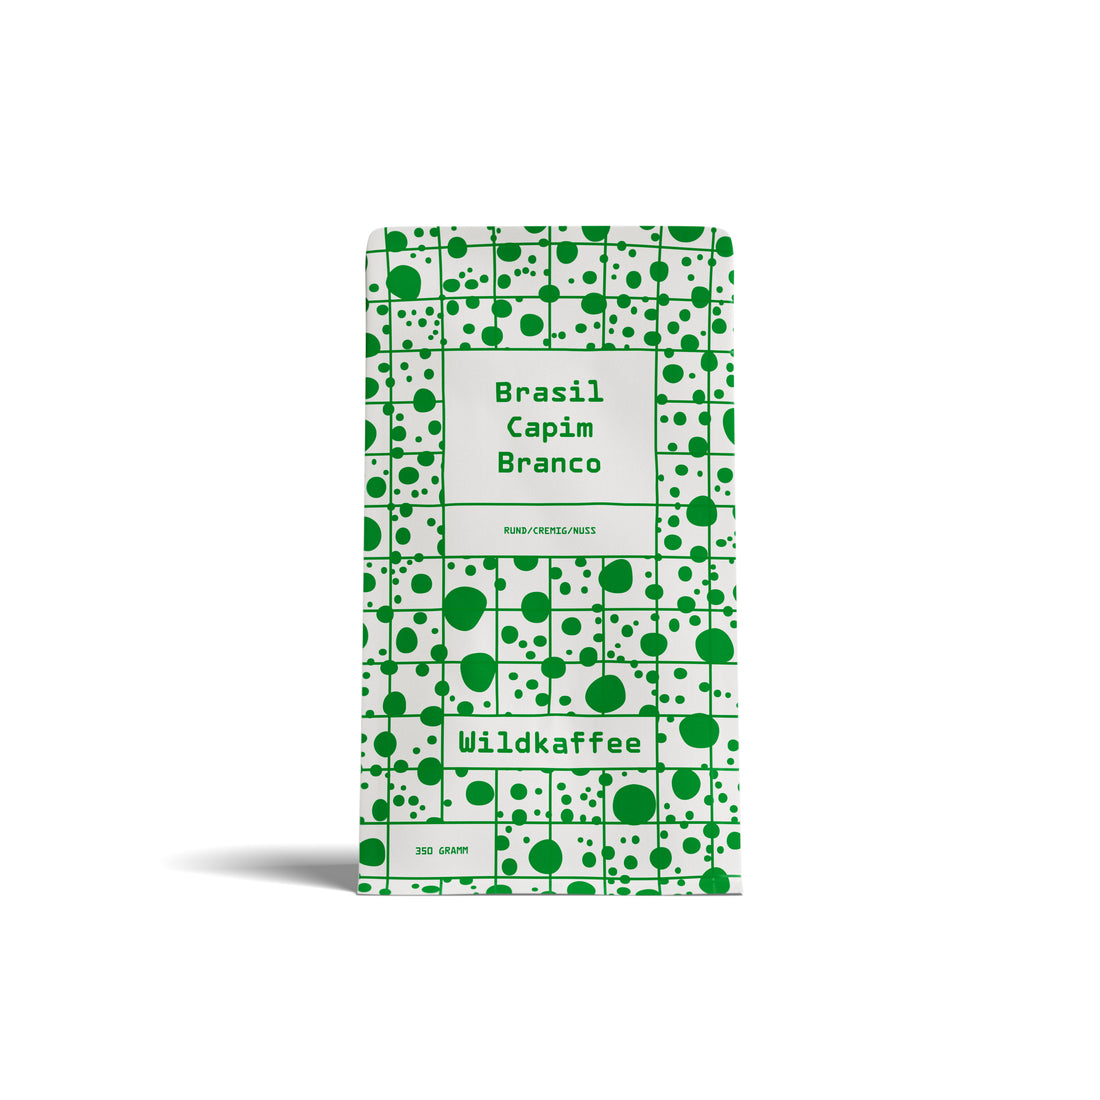
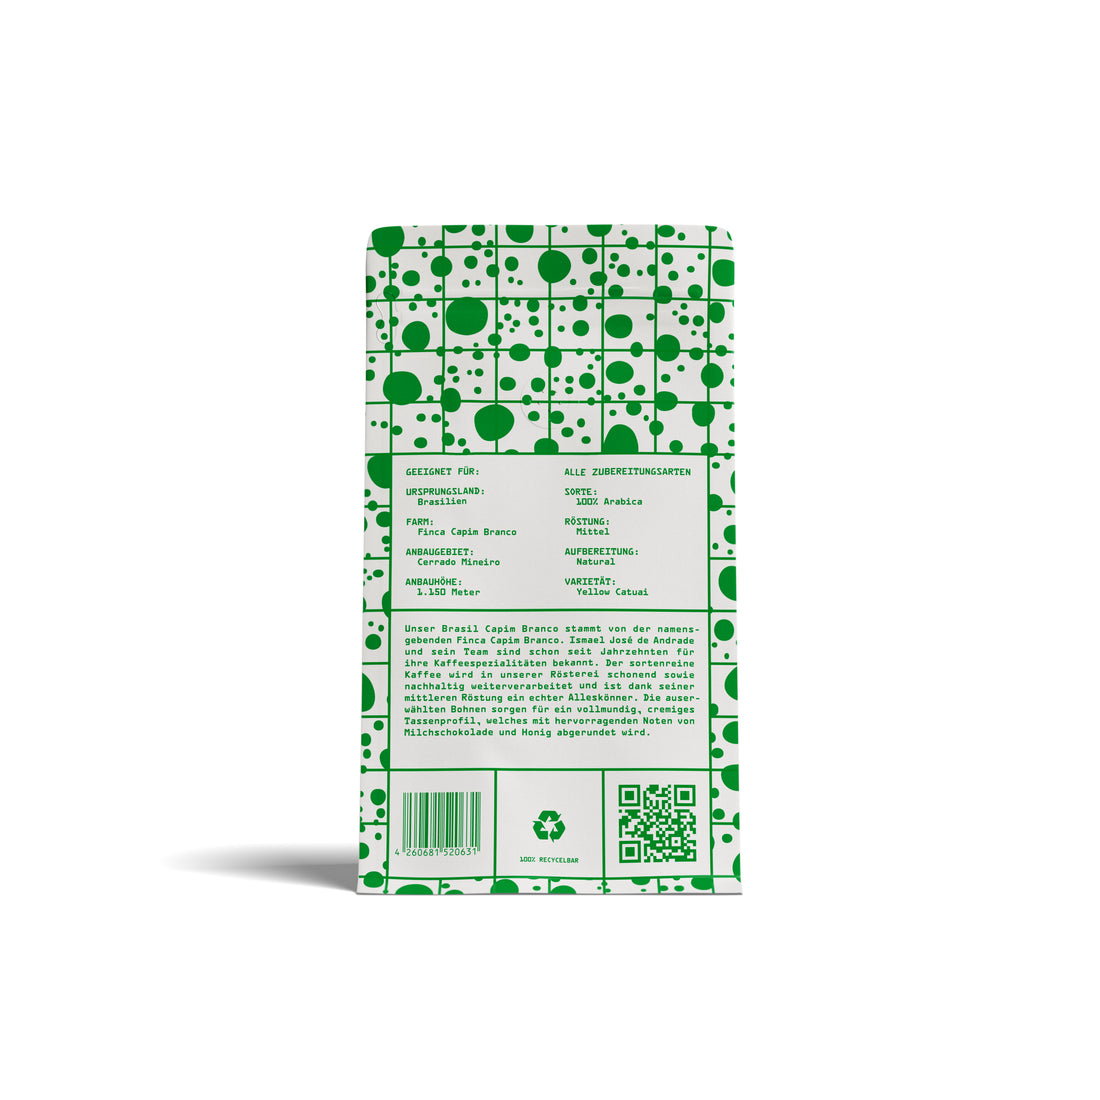 Vendor:Brazil Capim BrancoWildkaffee - Mittlere Röstung
- Regular price
-
$12.00 USD $31.00 USD - Regular price
-
- Sale price
-
$12.00 USD $31.00 USD - Unit price
-
$34.29 USD per kg
-
Ethiopia West Arsi

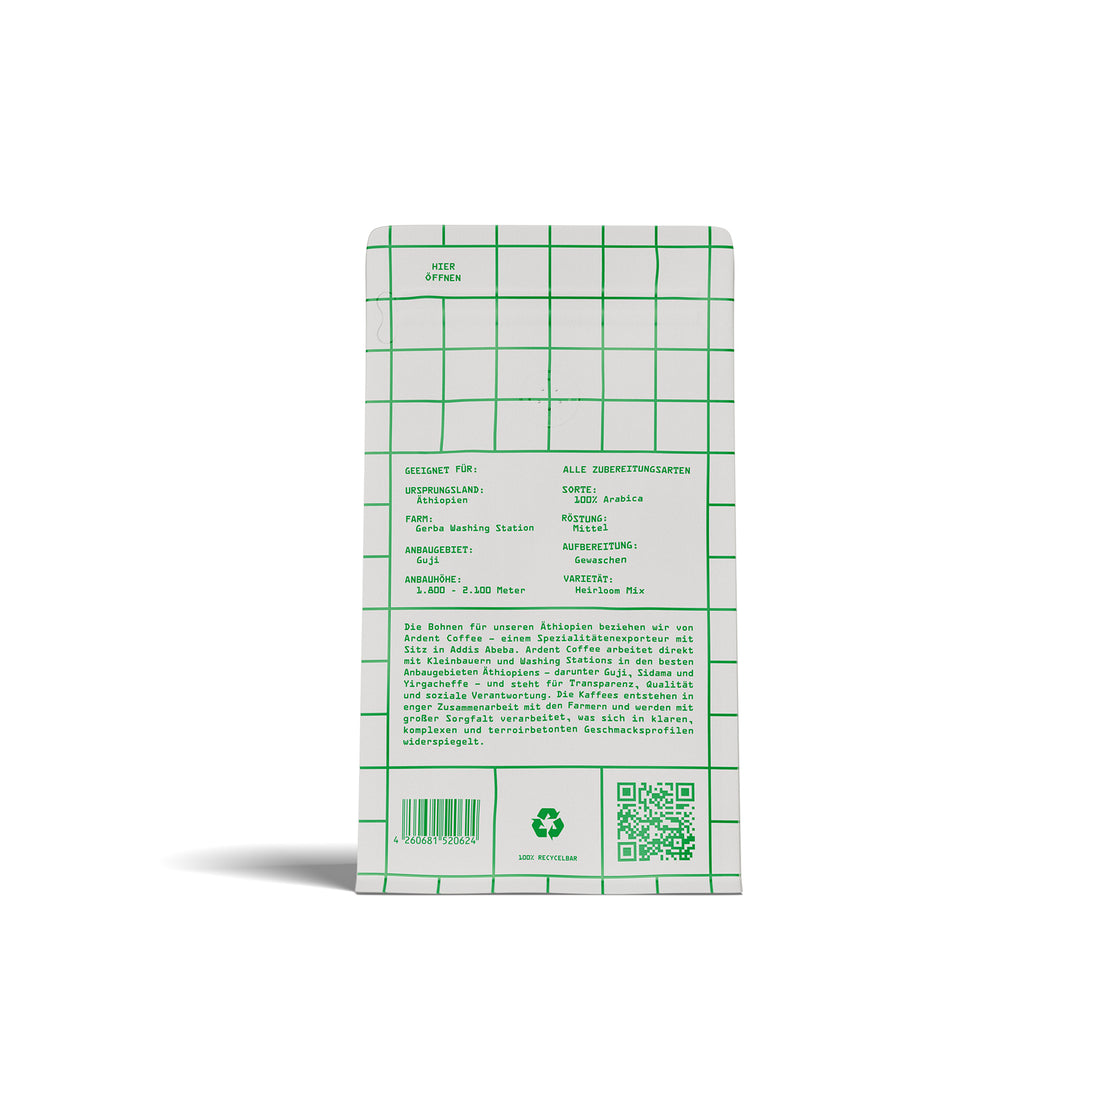 Vendor:Ethiopia West ArsiWildkaffee - Mittlere Röstung
- Regular price
-
$14.00 USD $36.00 USD - Regular price
-
- Sale price
-
$14.00 USD $36.00 USD - Unit price
-
$40.00 USD per kg
-
Wilde Milde

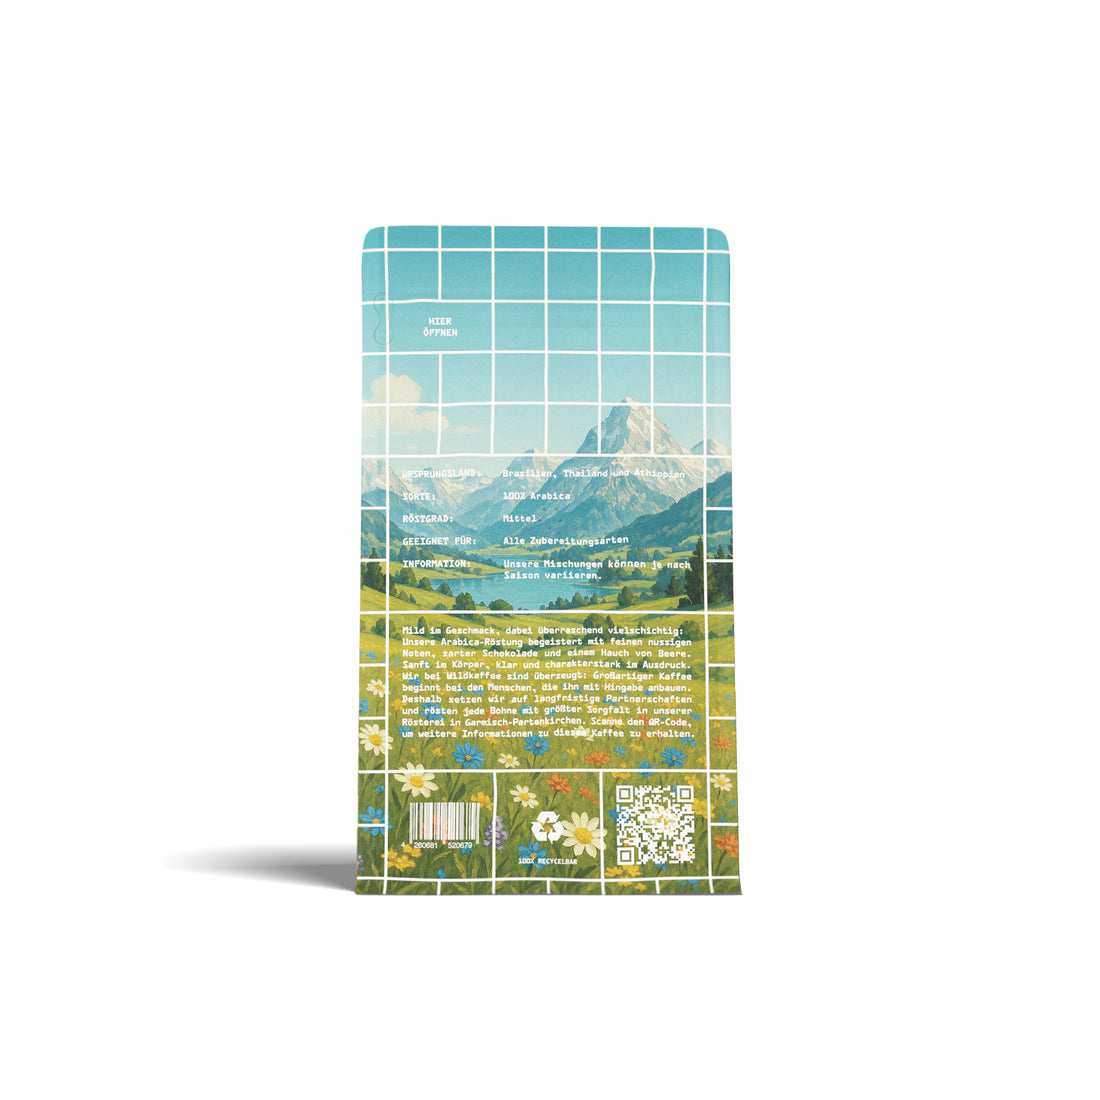 Vendor:Wilde MildeWildkaffee - Mittlere Röstung
- Regular price
-
$12.00 USD $33.00 USD - Regular price
-
- Sale price
-
$12.00 USD $33.00 USD - Unit price
-
$34.29 USD per kg
-
Decaffeinated
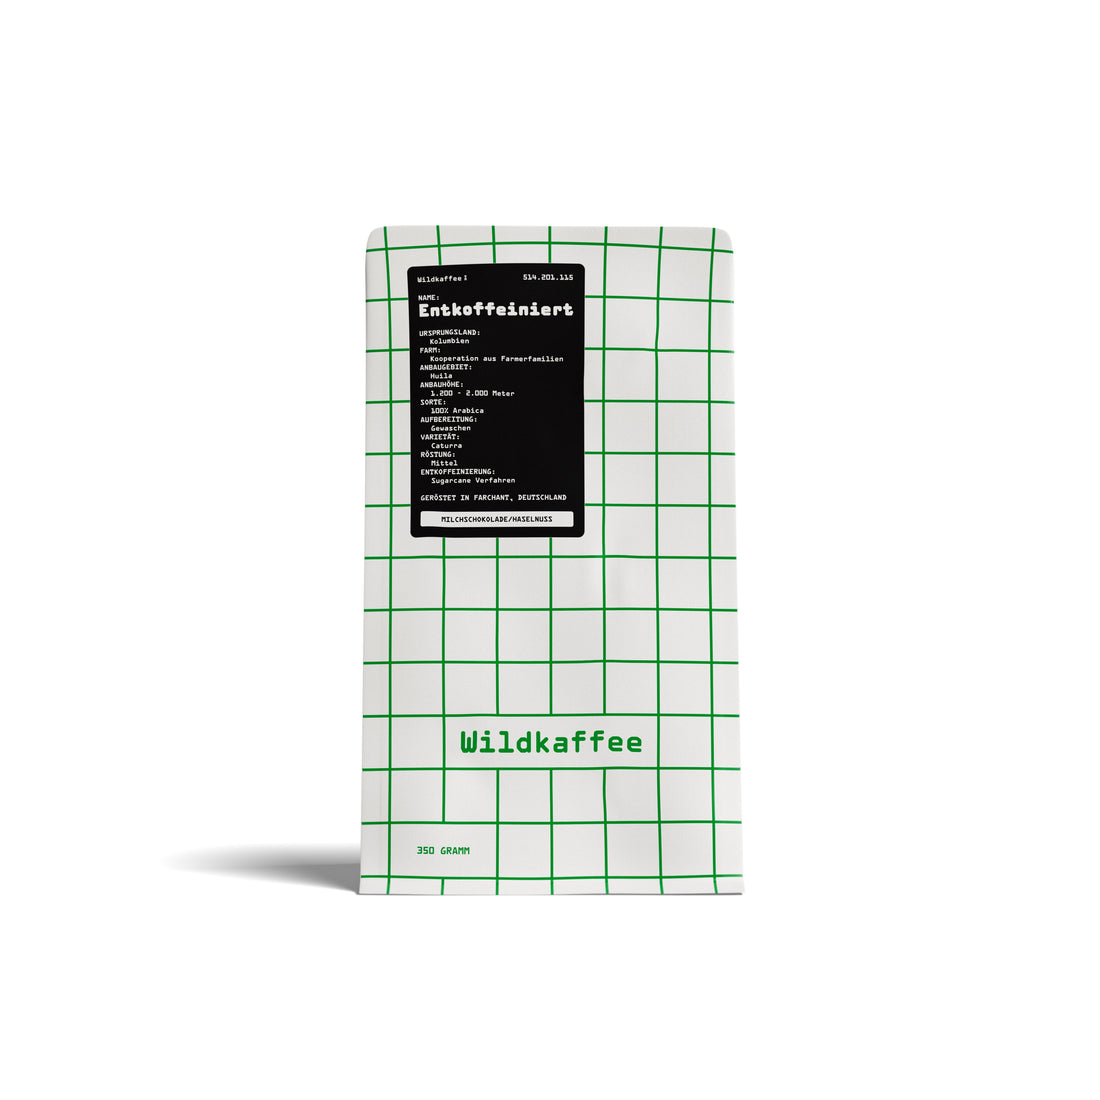 Vendor:DecaffeinatedWildkaffee - Mittlere Röstung
- Regular price
-
$14.00 USD - Regular price
-
- Sale price
-
$14.00 USD - Unit price
-
$40.00 USD per kg
